Carbon and Low Alloy Steels Sample Preparation
A comprehensive guide to preparing carbon steel and low alloy steel samples for metallographic analysis, covering sectioning, mounting, grinding, polishing, and etching techniques for steels like 1018, 1045, 4140, 4340, 5160, and 52100.
Introduction
Carbon steel and low alloy steel are among the most commonly analyzed materials in metallography. Low alloy steels (such as 4140, 4340,5160, and 52100) are essentially carbon steels with alloying additions that enhance properties like hardenability, strength, and toughness. The preparation techniques are identical to carbon steels - same grinding sequences, same etchants, same challenges. Proper preparation is essential to reveal the true microstructure without introducing artifacts such as deformation, scratches, or contamination. This guide will walk you through the complete preparation process for both carbon steels and low alloy steels.

Carbon steel microstructure showing ferrite and pearlite, properly prepared and etched. This image demonstrates the proper microstructure revealed through correct preparation techniques.
Carbon steels and low alloy steels can vary significantly in hardness depending on carbon content, alloying elements, and heat treatment. For example, 1018 is a low-carbon steel (typically 126 HB) that requires lighter pressure during preparation, while1045 is a medium-carbon steel (around 170 HB) that can tolerate more aggressive preparation. Low alloy steels like 4140 and4340 typically have similar hardness ranges (197-217 HB) and use the same preparation techniques as carbon steels. The key is to use appropriate abrasives and maintain consistent pressure throughout the process based on the specific steel grade and its hardness, regardless of whether it's a carbon steel or low alloy steel.
Sectioning
Section carbon and low-alloy steel on a standard abrasive cutoff saw at typical metallographic surface speeds (~2,500-4,500 SFM). Manage heat through coolant flood and blade selection rather than by lowering spindle RPM — under-speeding a thin abrasive blade glazes and burns instead of cutting. For mild grades like 1018and 1045, a medium-bond Al₂O₃ blade is appropriate. For hardened conditions (HRC > 45) — 1095, hardened 5160 or 52100, Q&T 4140 /4340 — switch to a harder-bond Al₂O₃ blade and keep the wheel speed in the same range. Surface rehardening from sectioning is a thin damage band that gets removed in plane grinding; coolant flood and blade choice prevent it, RPM does not.
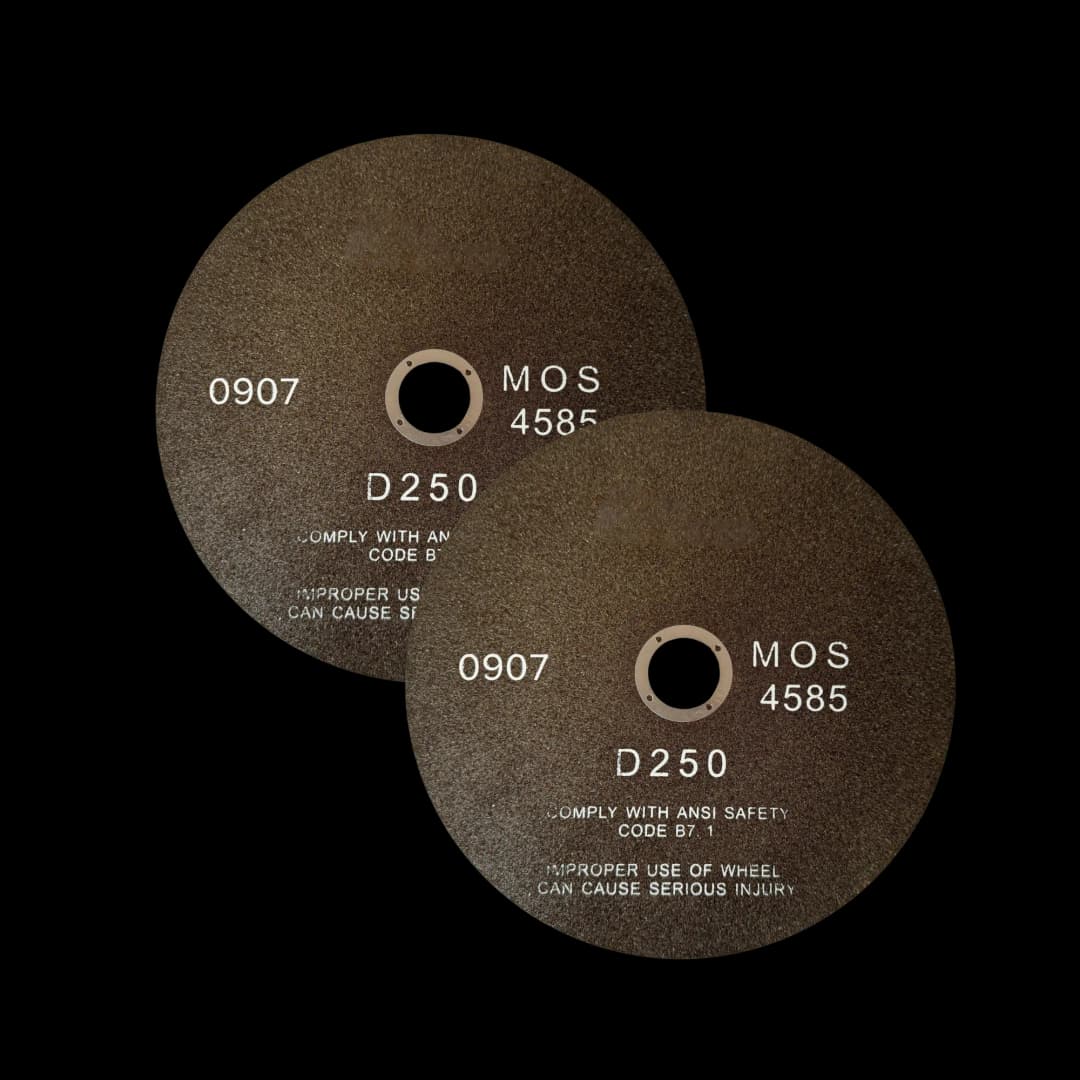
Medium resin-bonded Al₂O₃ blades designed for general steels and ferrous metals like carbon steel and low alloy steel. For hard or case-hardened steels, a hard-bond Al₂O₃ blade is more appropriate. Thin blades (0.5-1.0 mm) minimize heat generation and deformation.
- Use a medium resin-bonded Al₂O₃ blade (general ferrous category) for carbon steel and low-alloy steel grades, or step up to a hard-bond Al₂O₃ blade (hardened/case-hardened steel category) for harder grades
- Use a thin abrasive cut-off wheel (0.5-1.0 mm thickness)
- Apply steady, moderate pressure
- Use adequate coolant to prevent overheating and phase transformation
- Allow the wheel to do the cutting - avoid forcing
Example Products: Ferrous Abrasive Blades (General & Hardened)Medium resin-bonded Al₂O₃ blades for general carbon steel and low-alloy steel, plus hard-bond Al₂O₃ blades for hard or case-hardened steels
For purchasing options and product specifications, see commercial supplier website.
Mounting
Mounting provides edge retention and easier handling. Plain phenolic (Bakelite-style) is acceptable for mild low-carbon grades in the annealed or normalized condition (1018, 1020), where it doesn't differentially wear against the sample. For hardened low-alloy and high-carbon grades — Q&T 4140,4340,1095,5160,52100— switch to glass-filled epoxy. Phenolic offers only fair edge retention: against a hardened steel the resin wears faster than the sample and rounds the sample-mount boundary, one of the most common causes of poor edge retention on heat-treated steels.
Compression Mounting
- Clean the sample thoroughly to remove cutting fluid and debris
- Place sample in mounting press with phenolic (mild grades) or glass-filled epoxy (hardened grades)
- Apply pressure: 3000-4000 psi for phenolic / glass-filled epoxy, 2000-3000 psi for plain epoxy
- Heat to 150-180°C and hold for 5-8 minutes
- Cool under pressure to room temperature
Grinding
Grinding removes sectioning damage and prepares the surface for polishing. Start with coarse grits and progressively move to finer grits. For carbon steel, we recommend the following sequence:
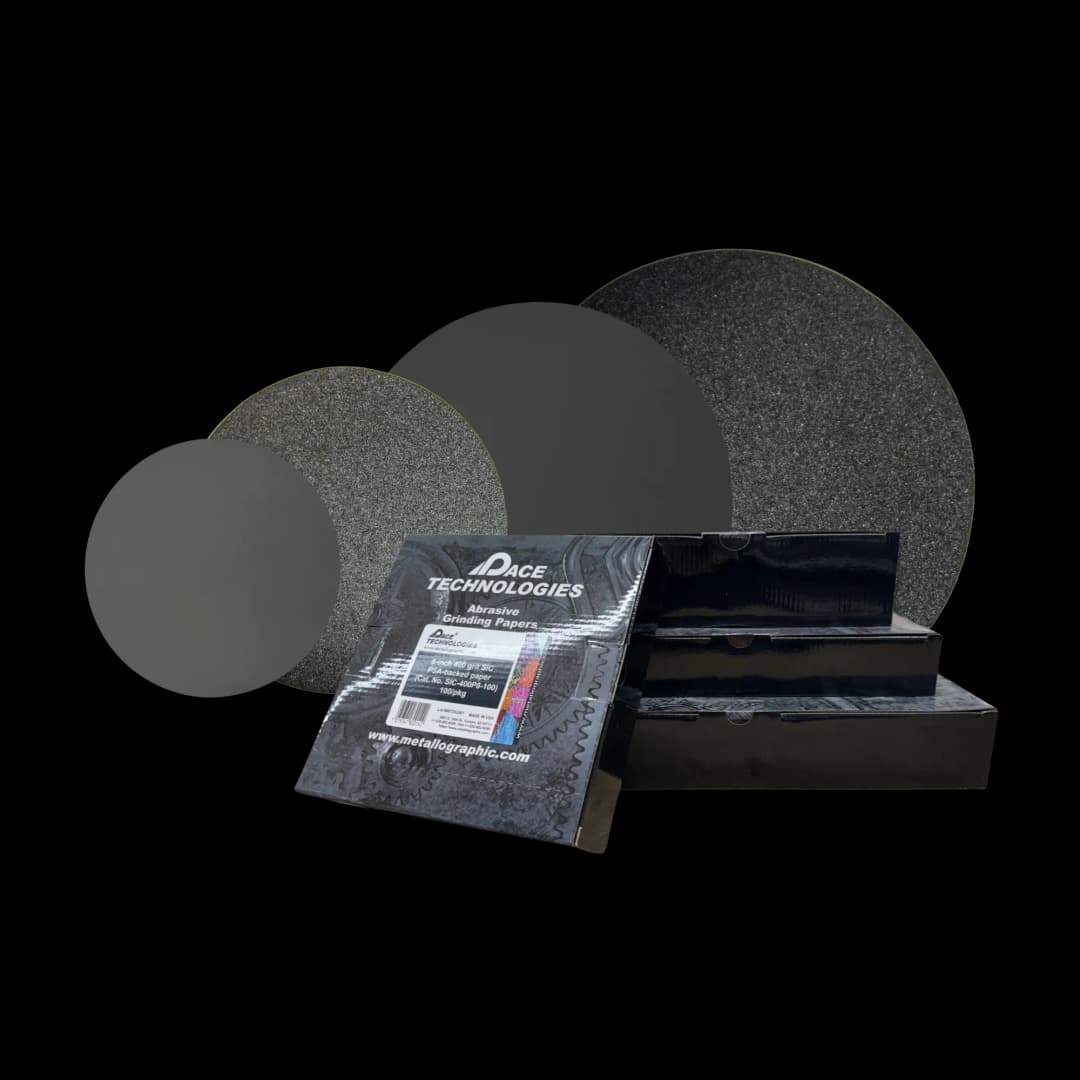
Silicon carbide (SiC) grinding papers in various grit sizes (120, 240, 400, 600) for progressive grinding. Rotate sample 90° between each grit to ensure complete scratch removal.
Grinding Sequence
- 120 grit: Remove sectioning damage (30-60 seconds per step)
- 240 grit: Remove previous scratches (1-2 minutes)
- 400 grit: Further refinement (1-2 minutes)
- 600 grit: Final grinding step (1-2 minutes)
Important: Rotate the sample 90° between each grit to ensure complete removal of previous scratches. Use water as a lubricant and maintain consistent, moderate force (roughly 25-30 N per sample) at a platen speed of 200-300 RPM. For softer, low-carbon steels, use lighter pressure to avoid deformation.
Example Products: Silicon Carbide Grinding Papersappropriate SiC papers in all grit sizes for consistent grinding
For purchasing options and product specifications, see commercial supplier website.
Polishing
Polishing removes grinding scratches and prepares a mirror-like surface. For carbon steel, diamond polishing followed by oxide polishing typically yields excellent results. The procedure is similar to stainless steel, with adjustments based on hardness.
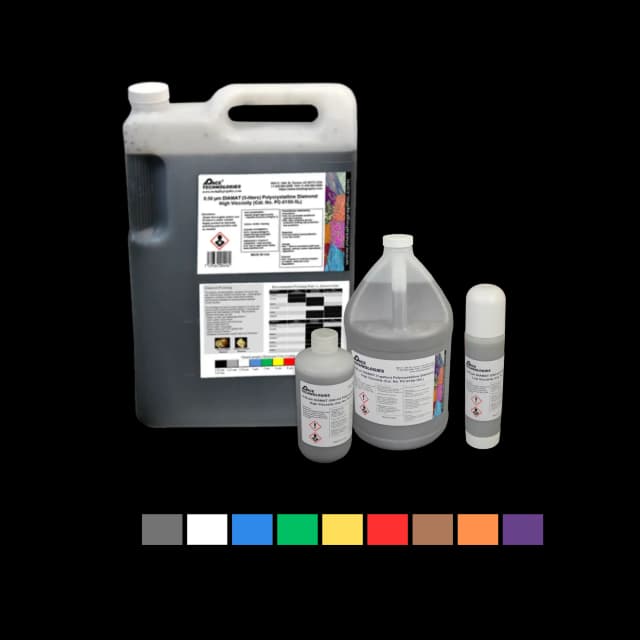
Polycrystalline diamond compound provides aggressive cutting action ideal for carbon steels.
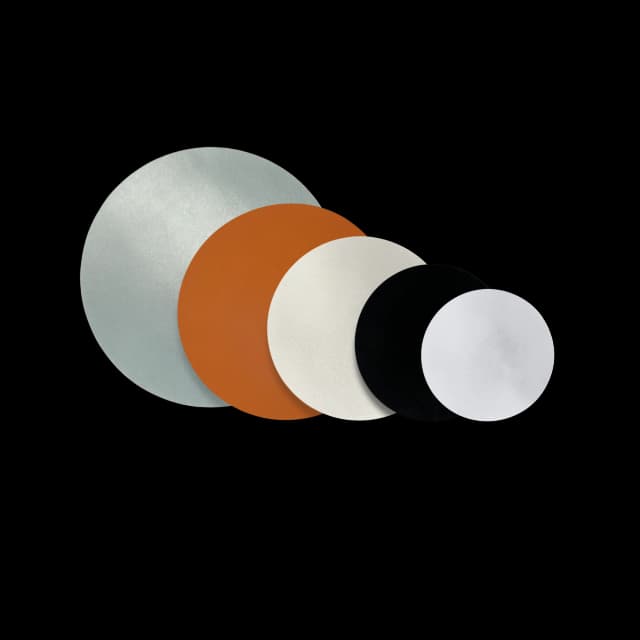
Various polishing pads and cloths for different polishing stages. Select pad hardness based on steel hardness and polishing stage.
Diamond Polishing
- 9 μm diamond: 3-5 minutes on a hard woven pad
- 3 μm diamond: 3-5 minutes on a medium napped cloth
- 1 μm diamond: ~3 minutes on a soft napped cloth
Final Polishing
- 0.05 μm colloidal silica: ~2 minutes on a chemotextile pad
- Flush with water for the final 30-60 seconds while still polishing — this removes silica residue that otherwise dries into stains — then rinse and dry with compressed air
Use appropriate polishing lubricants, maintain consistent pressure, and run the platen at 100-150 RPM for all polishing steps. Over-polishing can introduce relief, especially around inclusions or second phases. For softer, low-carbon steels, use lighter pressure and shorter times to avoid deformation.
Etching
Etching reveals the microstructure by selectively attacking grain boundaries and phases. The choice of etchant depends on the carbon content, heat treatment, and what features you want to reveal. Nital (nitric acid in ethanol) is the most common etchant for carbon steel.
.JPG&w=1200&q=75)
1018 Carbon steel etched with 2% Nital, magnification (DIC). Proper etching reveals grain boundaries and phase structure without over-etching artifacts.
Common Etchants for Carbon Steel and Low Alloy Steel
- 2% Nital: The most commonly used etchant for carbon and low-alloy steels and the standard starting point, from low-carbon grades like 1018 up through Q&T alloy grades. Reveals ferrite grain boundaries, pearlite, and martensite (2 mL HNO₃ in 98 mL ethanol). Swab 5-30 s.
- 3% Nital: A step up in strength when 2% under-etches — useful for medium-carbon steels like 1045, and low alloy steels like 4140 and 4340 (3 mL HNO₃ in 97 mL ethanol).
- 5% Nital: For harder carbon steels such as 1095, or hardened alloy steels. More aggressive etching (5 mL HNO₃ in 95 mL ethanol).
- 4% Picral: Reveals pearlite and cementite cleanly without attacking ferrite boundaries — the right answer for cementite distribution work in 1045, 52100, and other carbide-containing alloy steels (4 g picric acid in 100 mL ethanol). Swab 10-60 s. Picric safety: store the reagent and any picric acid stock wetted at all times — dry picric acid is friction- and shock-sensitive (effectively a primary explosive). Keep stock bottles topped up with water or ethanol; never let them dry out.
- 4% Picral then 2% Nital (sequential etch): The classic combination for ferrite/pearlite work in carbon and low-alloy steels — banding assessment, ferrite/pearlite fraction, HSLA structures. Swab 4% Picral first to delineate the pearlite and cementite, rinse, then a short 2% Nital swab to bring up the ferrite grain boundaries that Picral leaves invisible. For tempered martensite in Q&T 4140 and 4340, plain 2% Nital remains the standard etch.
- Beraha I (color tint, optional): For ferrite/pearlite/bainite/martensite differentiation by color when grayscale etches can't separate them (10 mL HCl + 90 mL H₂O + 1 g K₂S₂O₅; immersion 30-180 s). Each phase tints to a distinct color by film thickness. Requires a deformation-free, colloidal-silica-finished surface. Worth knowing exists; not a daily-driver etch.
Note: Vilella's reagent (1 g picric + 5 mL HCl + 95 mL ethanol) is sometimes referenced for steels, but its canonical use is tool steels and martensitic stainless — see the Tool Steel guide for that workflow. For carbon and low-alloy steel general microstructure, stay with the Nital / Picral / Nital→Picral workflow above.
Etching solutions and reagents for carbon steel and low alloy steel. Common etchants include Nital (2%, 3%, 5%) and Picral. The same etchants work for both carbon steels and low alloy steels. Etching time typically ranges from 5-30 seconds depending on the etchant and steel grade.
Etching Procedure
- Ensure sample is clean and dry
- Apply etchant with cotton swab or immerse sample
- Etch for 5-30 seconds (time varies by etchant and steel grade/hardness)
- Immediately rinse with water, then alcohol
- Dry with compressed air
Tip: Start with shorter etching times (5-10 seconds) and increase if needed. Over-etching can obscure fine details. For softer steels like 1018, use lower Nital concentrations (2-3%). For hardened steels such as 1095or hardened alloy steels like 5160 and 52100, higher concentrations (5%) may be needed. Picral is particularly useful for revealing pearlite structures in medium-carbon steels like 1045 and for alloy steels with carbides.
Example Products: EtchantsPre-mixed and custom etching solutions for carbon steel and low alloy steel, including Nital and Picral
For purchasing options and product specifications, see commercial supplier website.
Troubleshooting
Common Issues and Solutions
- Scratches remaining: Insufficient grinding/polishing time or skipped grits. Ensure complete scratch removal at each step.
- Relief around inclusions: Over-polishing or too soft a cloth. Reduce polishing time or use slightly harder cloth.
- Contamination: Clean between steps, use fresh abrasives, and ensure proper sample cleaning.
- Poor edge retention (rounding at the sample-mount boundary): Most common on hardened low-alloy steels mounted in plain phenolic — the softer resin wears faster than the steel and rounds the edge. Switch hardened grades to glass-filled epoxy. Also tighten final-polish time on soft napped pads (cap at ~2 min + flush).
- Over-etching: Reduce etching time or use lower Nital concentration. Start with shorter times.
- Under-etching: Increase etching time or use higher Nital concentration. Ensure sample is clean before etching.
- Phase transformation during cutting: Increase coolant flood and reduce feed rate, and check that the blade bond suits the steel's hardness. Do not under-speed the wheel — a glazed blade rubs instead of cutting and generates more heat.
Explore More Procedures
Browse our comprehensive procedure guides for material-specific preparation methods and get personalized recommendations.