Polishing Methods
Learn effective polishing techniques for different materials and applications, including diamond polishing, oxide polishing, controlled removal, and final polishing strategies.
Table of Contents
Introduction
Polishing is the final step in metallographic sample preparation that removes grinding scratches and creates a mirror-like surface suitable for microstructural analysis. Proper polishing technique is essential for revealing true microstructures without introducing artifacts such as relief, contamination, or deformation.
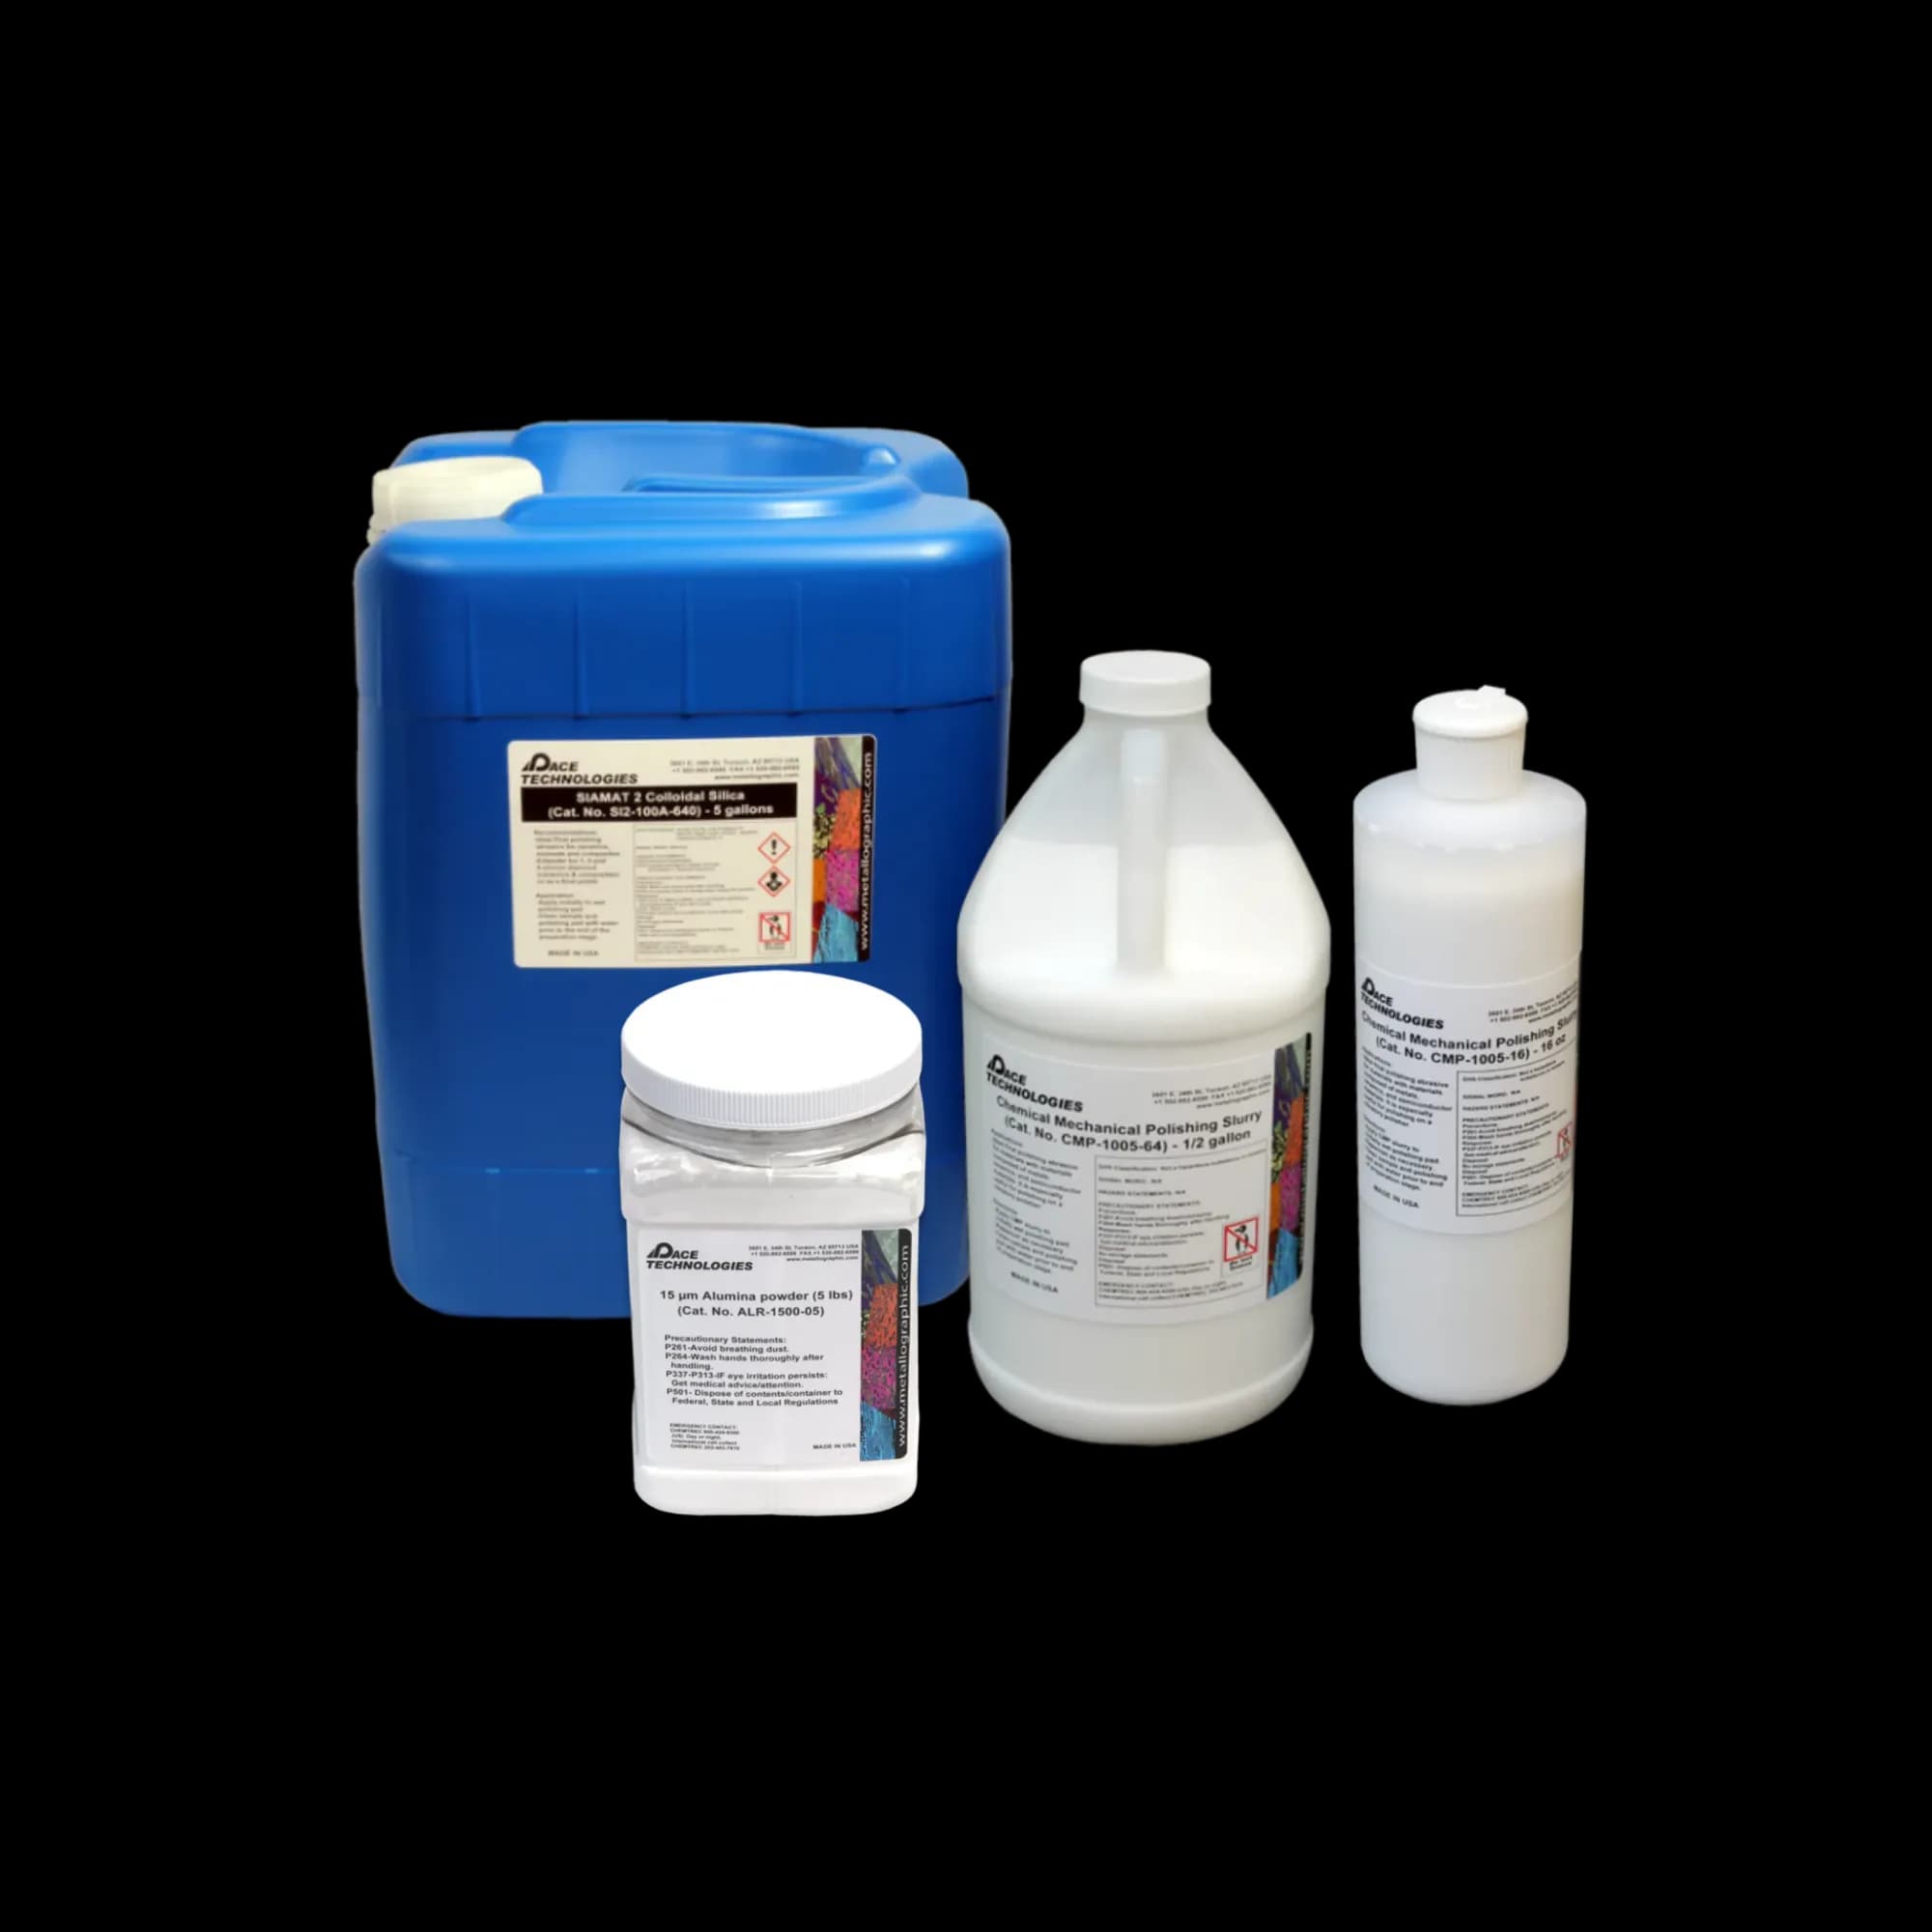
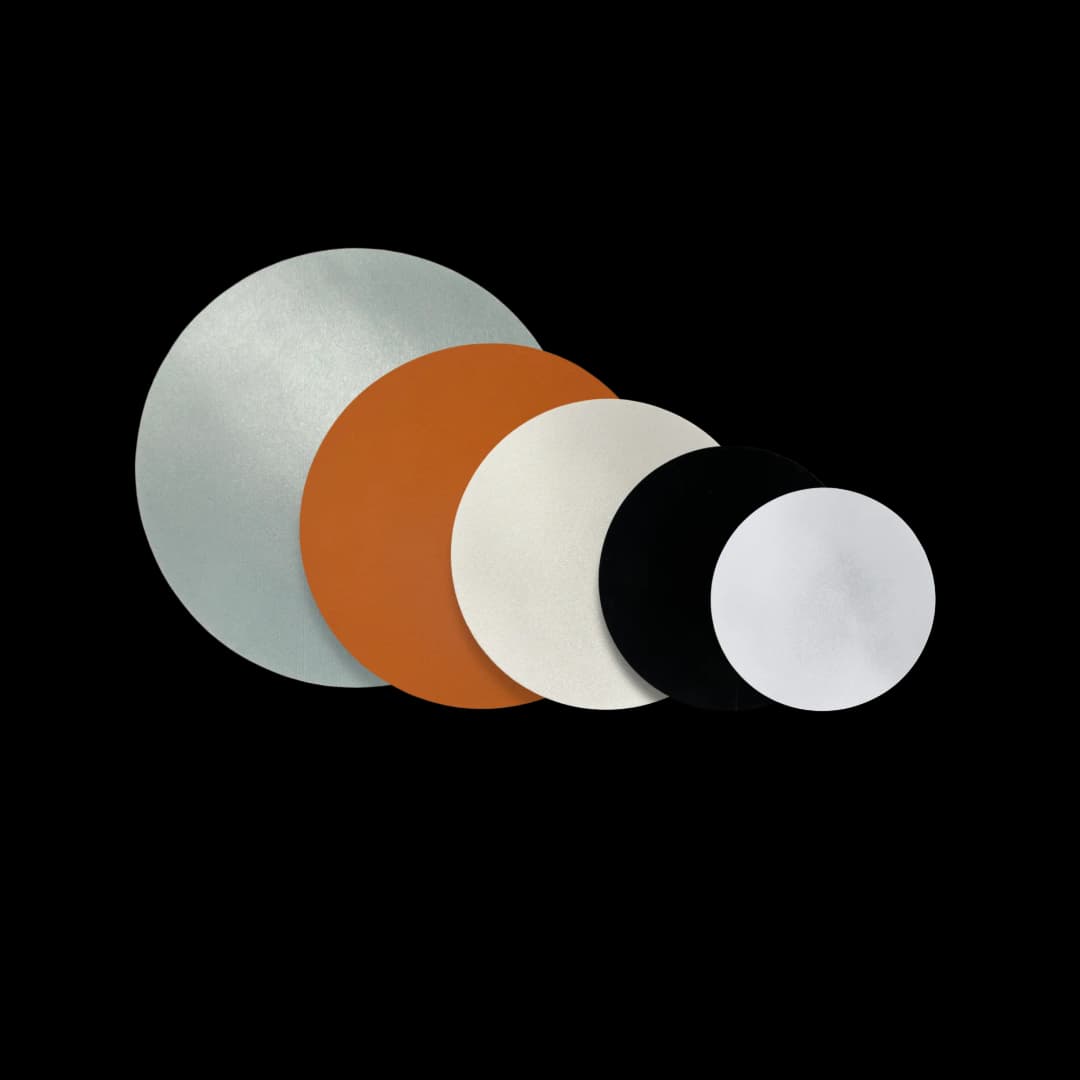
Final polishing consumables including diamond abrasives, oxide suspensions, and polishing pads. Proper selection ensures mirror-like surfaces suitable for microstructural analysis.
The polishing process typically involves multiple stages, progressing from coarse diamond abrasives to fine oxide suspensions. Each stage must be carefully executed to ensure complete removal of previous scratches while maintaining sample integrity.
Diamond Polishing
Diamond polishing is the primary method for removing grinding scratches and preparing the surface for final polishing. Diamond abrasives are available in various particle sizes and formulations to suit different materials and applications.
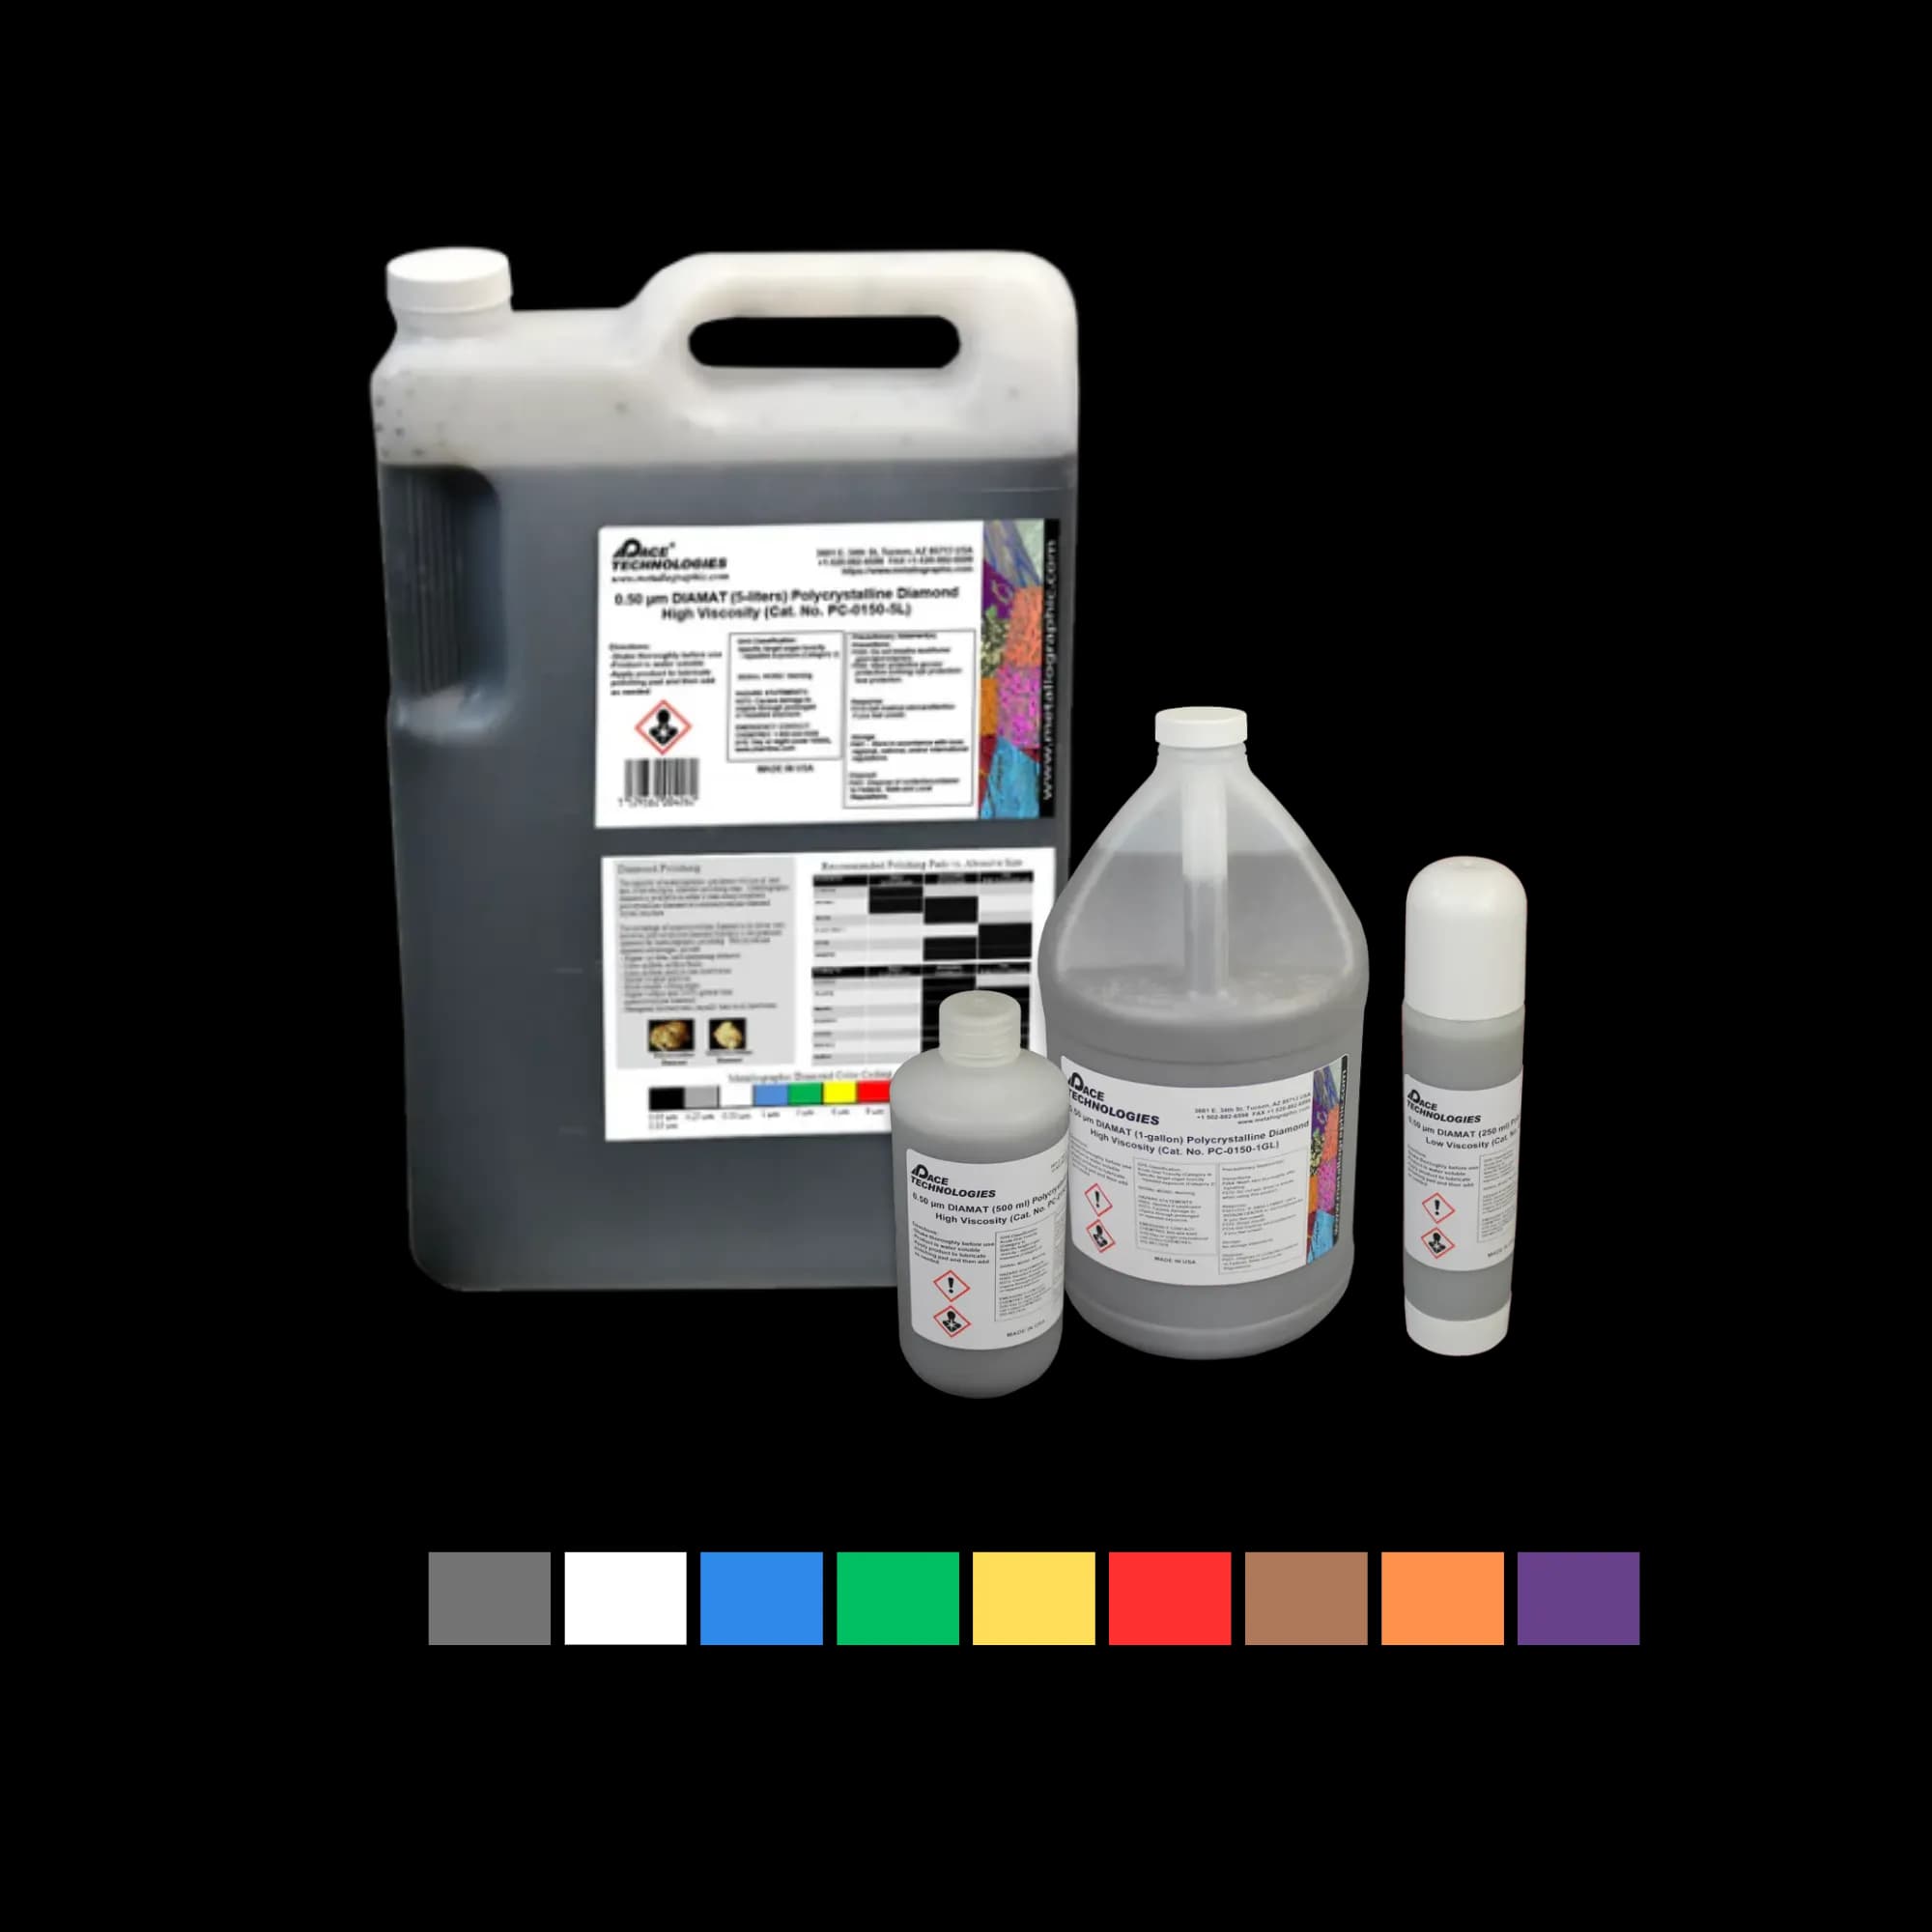
Polycrystalline diamond: aggressive cutting, ideal for hard materials
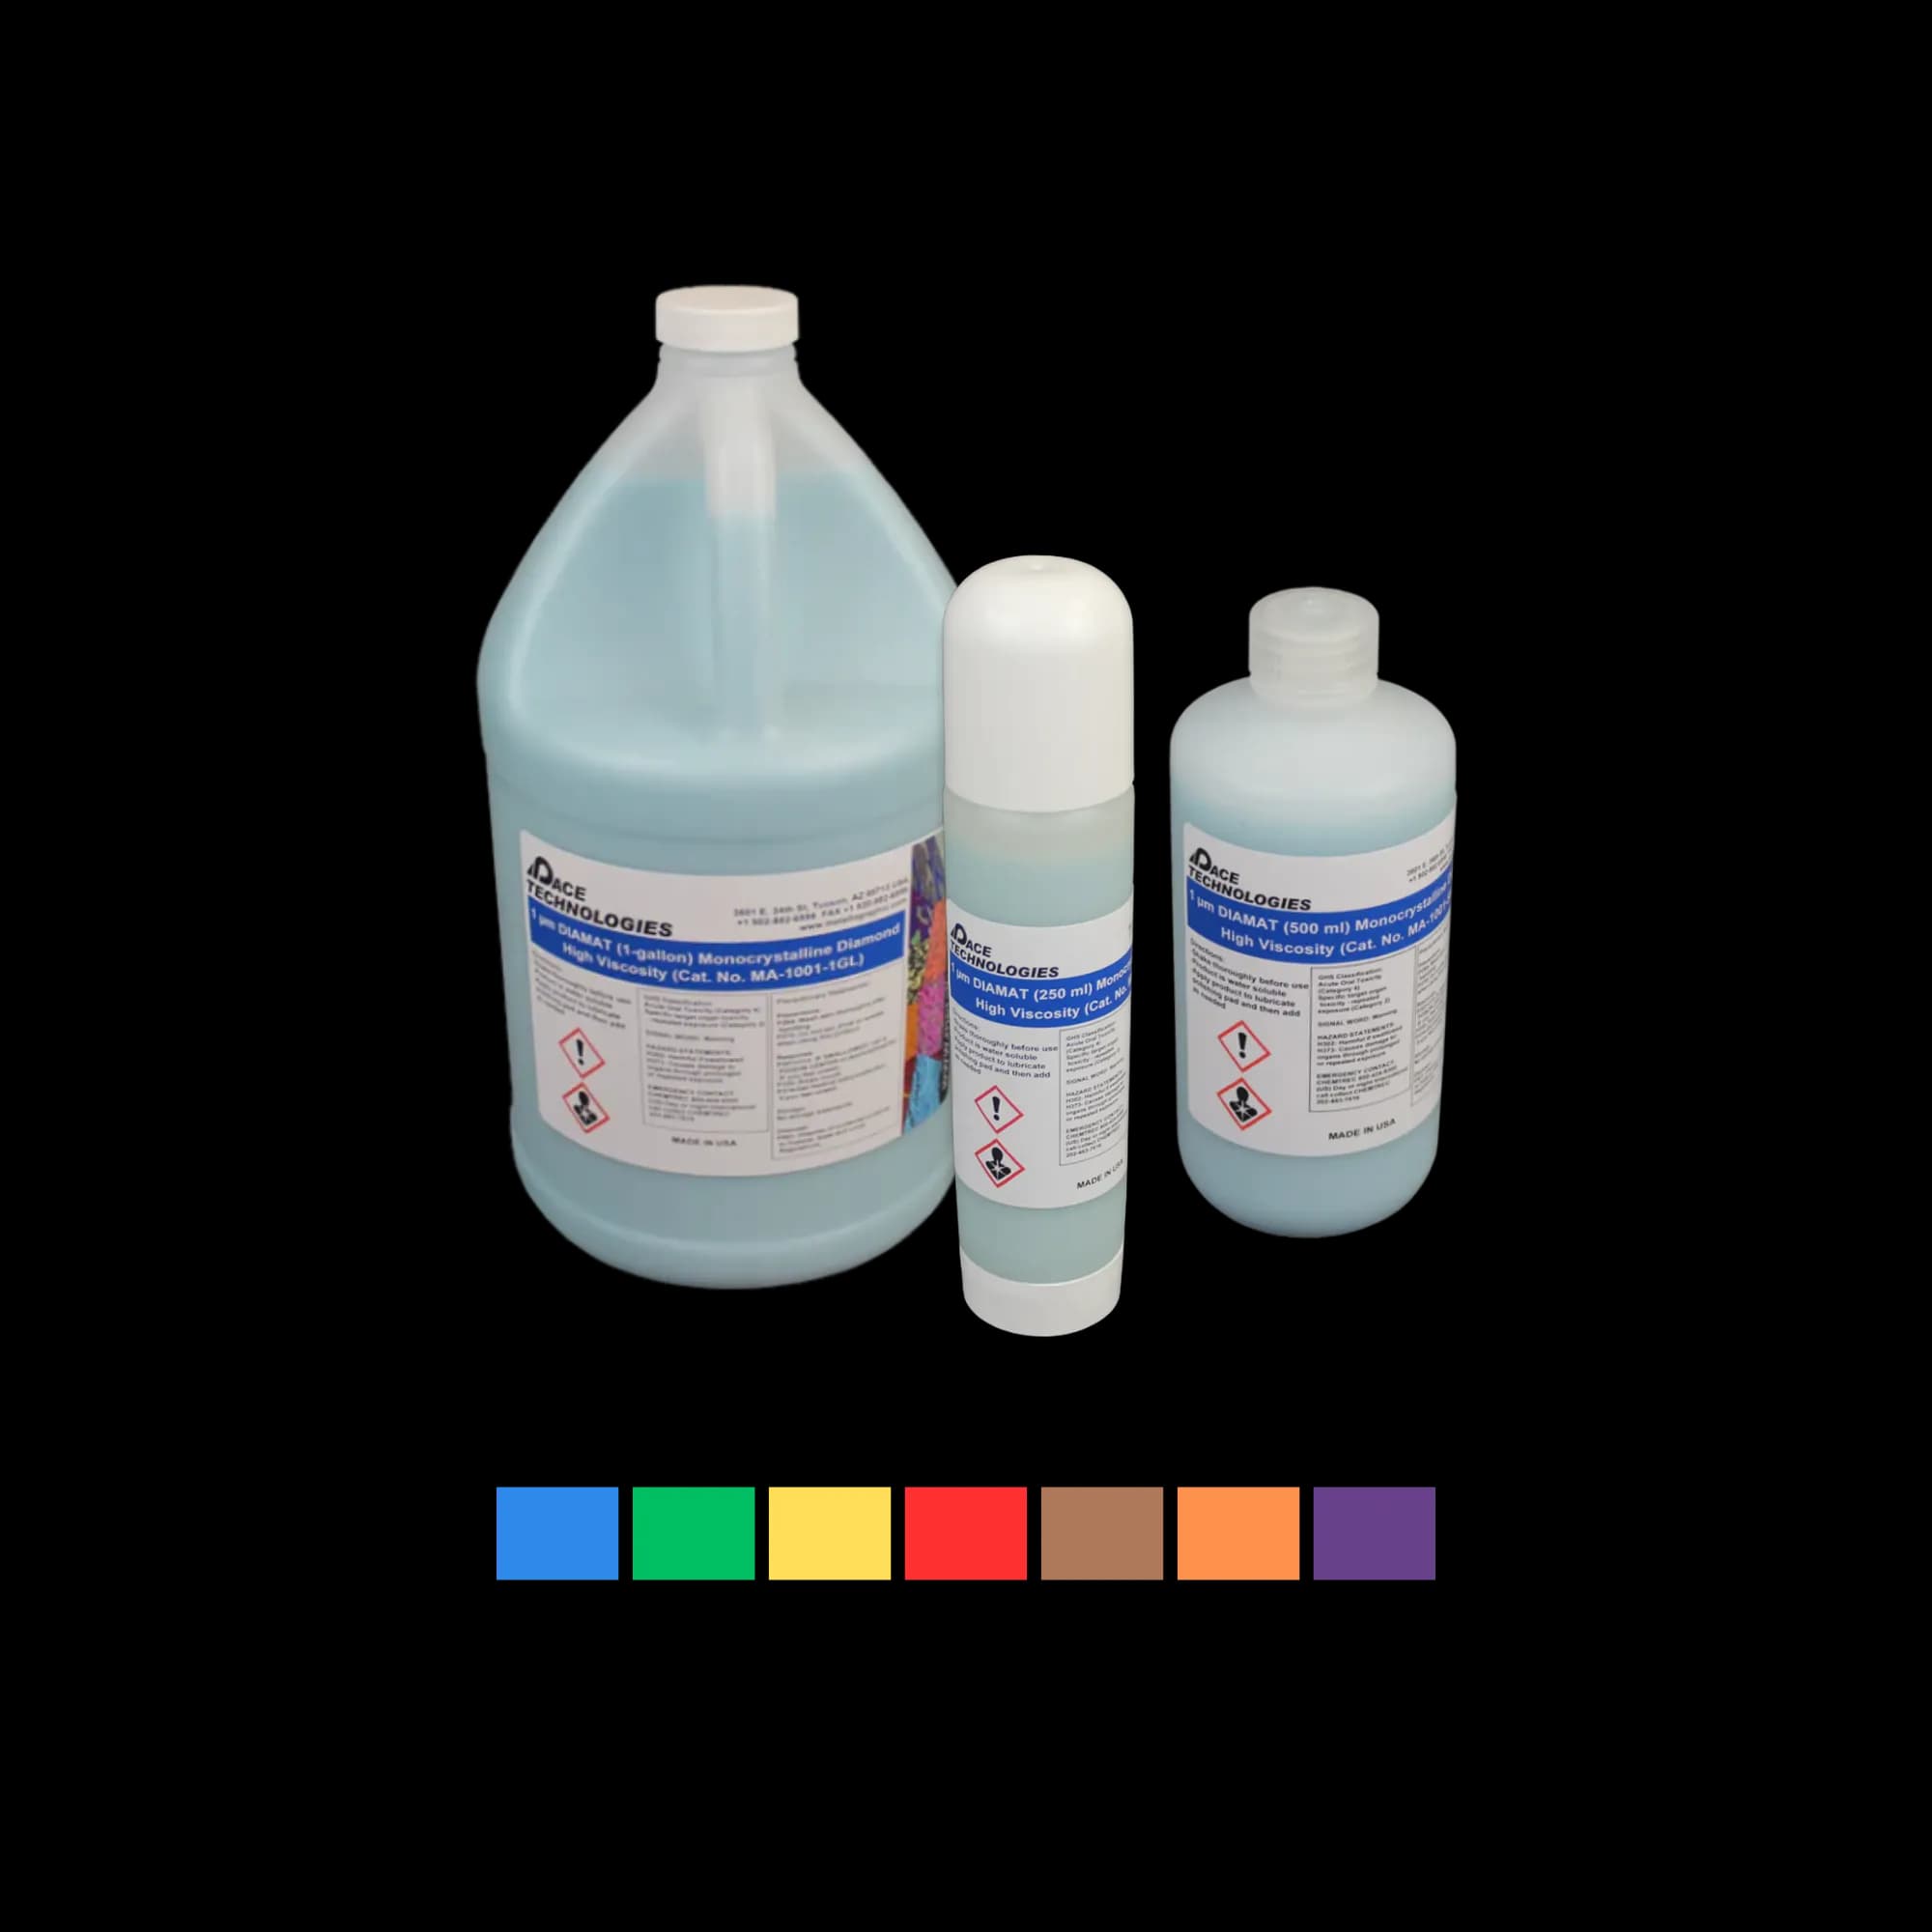
Monocrystalline diamond: gentler cutting, less aggressive
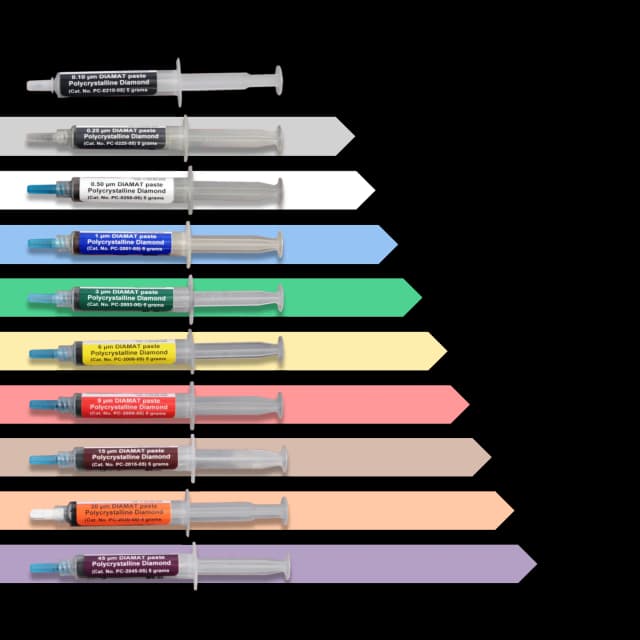
Diamond paste: grease-based for manual polishing applications
Diamond Polishing Sequence
- 9 μm diamond on a hard woven pad: Remove grinding scratches (3-5 minutes)
- 3 μm diamond on a medium napped pad: Further refinement (3-5 minutes)
- 1 μm diamond on a soft napped pad: Fine polishing (3-4 minutes)
- 0.25 μm diamond (optional): Ultra-fine preparation (1-2 minutes)
Typical parameters: 20-25 N force per sample at around 150 RPM for the 9 and 3 μm steps, dropping to 15-20 N for the 1 μm step. Keep platen speeds in the 100-150 RPM range for polishing; the higher speeds used in grinding (200-300 RPM) generate too much heat and deformation here. Match the first diamond size to the last grinding step: each abrasive leaves subsurface damage roughly 1.5-3 times its particle diameter, and each polishing step must remove the previous step's damage, not just its visible scratches. Judge progress under the microscope, not by the clock - a useful rule of thumb is to continue for about twice the time it takes the previous scratches to disappear.
Automated Grinding & Polishing with NANO 1000S & FEMTO 1100S
Watch Dr. Donald Zipperian demonstrate automated grinding and polishing using a manual polisher fitted with a semi-automatic power head. Learn how to program and operate automated systems for consistent, repeatable results in both grinding and polishing stages.
Video by Dr. Donald Zipperian, PhD - PACE Technologies | Watch on YouTube
Diamond Abrasive Types
- Polycrystalline Diamond: Aggressive cutting, good for hard materials
- Monocrystalline Diamond: Softer cutting action, less aggressive
- Diamond Suspensions: Water-based or oil-based suspensions
- Diamond Pastes: Grease-based for manual applications
Example Products: Diamond AbrasivesDiamond suspensions, pastes, and lubricants in various particle sizes
For purchasing options and product specifications, see commercial supplier website.
Polishing Abrasives & Suspensions
Understanding the different types of polishing abrasives and their applications is crucial for achieving optimal results. Each abrasive type has specific characteristics that make it suitable for particular materials and polishing stages.
Diamond Abrasives
- Polycrystalline Diamond: Multiple cutting edges, aggressive removal, ideal for hard materials
- Monocrystalline Diamond: Single crystal structure, gentler cutting, less deformation
- Available Forms: Suspensions, pastes, sprays
- Particle Sizes: 15 μm down to 0.25 μm
Oxide Abrasives
- Alumina (Alpha): Standard alpha-phase alumina for general polishing
- Alumina (Deagglomerated): Processed to prevent agglomeration, more consistent
- Alumina (Low Viscosity): Lower viscosity for better flow and coverage
- Alumina (Polycrystalline): Multiple crystal structure for aggressive polishing
- Colloidal Alumina: Ultra-fine particles in suspension, excellent for final polishing
- Colloidal Silica: Very fine silica particles, produces mirror-like finishes
- Cerium Oxide: Effective for glass and some ceramics
- CMP Alumina Silica: Chemical-mechanical polishing blend
Polishing Cloths & Pads
The choice of polishing pad significantly affects polishing results. Different pad types provide varying levels of hardness, nap, and cutting action. Selecting the appropriate pad for each polishing stage is essential.
The governing tradeoff is pad hardness versus relief: a harder pad produces a flatter surface with better edge retention but leaves more scratches, while a softer napped pad leaves fewer scratches but allows more relief between phases of different hardness. Work from harder pads early in the sequence toward softer pads at the end, and reach for the softest cloths only at the final step.
Historical Note: The importance of polishing cloth selection was recognized early in metallography's development. In the 1920s-1930s, "kitten-ear" broadcloth was a popular polishing cloth that became unavailable due to fashion changes. Metallographers searched for substitutes, eventually working with manufacturers to produce specialized cloths for metallographic use. This early recognition of cloth importance led to the wide variety of specialized polishing pads available today, with "kitten-ear" style cloths still used for final polishing of soft metals where scratch removal is particularly difficult.
Various polishing pads and cloths for different polishing stages. Pad selection affects hardness, nap, and cutting action - choose based on material and polishing stage.
Polishing Pad Selection Guidelines
| Pad Type | Use Case | Polishing Stage |
|---|---|---|
| Metal mesh | Metal mesh pad used for semi-fixed abrasive coarse to intermediate lapping. Excellent for initial removal of damage from sectioning and hard materials. | Coarse / Intermediate |
| Woven polyester | Durable synthetic polyester pad ideal for intermediate polishing, especially with 6–15 µm diamond abrasives. Designed as a long-life nylon alternative. | Intermediate |
| Non-woven textile | Widely used non-woven intermediate polishing pad, compatible with most diamond suspensions. Effective across a broad range of materials. | Intermediate |
| Porometric polymer | Porometric polymer pad with rubber-like consistency, offering balanced action between low and high nap pads. Ideal for moderate nap intermediate polishing. | Intermediate |
| Soft low-nap woven | Low-napped soft polishing pad widely used in Europe for intermediate steps on metals. Suitable for 1–15 µm diamond abrasives. | Intermediate |
| Low-nap silk | Low-napped silk pad tailored for intermediate polishing of harder metals and alloys. Performs well with mid-size diamond abrasives. | Intermediate |
| Firm low-nap | Low-napped pad ideal for 1–9 µm polishing. Designed for consistent material removal and flatness control during final pre-polishing. | Intermediate |
| Foam-backed low-nap woven | Woven low-nap final polishing pad with foam backing for enhanced compliance. Ideal for 1–6 µm diamond. Great for critical surface flatness needs. | Final |
| High-nap synthetic | High-napped final polishing pad ideal for producing a mirror finish on metals and polymers. Recommended for <1 µm diamond or colloidal silica. | Final |
| Tight high-nap knit | Tight high-napped final polishing pad for metals. Offers better control of surface texture and minimal abrasive drag. | Final |
| Very high-nap flocked | Very high-napped final polishing pad tailored for soft metals and polymers. Provides gentle polishing action to minimize pull-out and relief. | Final |
| Wool cloth | Wool-based final polishing cloth used when edge retention is not critical. Works well with alumina and colloidal silica on metals. | Final |
| Felt | Thick final polishing pad made for large samples or glass. Ideal for use with colloidal silica or alumina slurries where surface uniformity is key. | Final |
Example Products: Polishing PadsPolishing pads and cloths in various sizes and hardness levels
For purchasing options and product specifications, see commercial supplier website.
Oxide Polishing
Oxide polishing follows diamond polishing and removes fine scratches while producing a high-quality surface finish. Oxide abrasives are typically used in the final polishing stages.
Oxide Polishing Sequence
- 0.3 μm alumina: Remove fine diamond scratches (2-3 minutes)
- 0.05 μm colloidal silica: Final polish for mirror finish (about 3 minutes, plus water flush)
Colloidal silica technique: polish for about 3 minutes with the active suspension, then flush with water for the final 30-60 seconds while still polishing. Skipping the flush leaves dried silica residue and stains on the surface. Colloidal silica works chemo-mechanically - it combines fine abrasion with mild chemical etching, which removes the residual deformation layer rather than just refining scratches.
Oxide Selection Guidelines
- Standard Alumina: General purpose, most materials
- Deagglomerated Alumina: When consistency is critical
- Colloidal Silica: For ultra-fine finishes, minimal relief
- Low Viscosity Alumina: For better coverage and flow
- Cerium Oxide: Specialized for glass and ceramics
Important: Always use fresh oxide suspensions and clean the sample thoroughly between diamond and oxide polishing to prevent contamination.
Final Polishing
Final polishing produces the mirror-like surface required for high-quality microstructural analysis. This stage requires careful attention to detail and appropriate selection of abrasives and cloths.
Colloidal silica (0.05 μm) is the most common final polishing abrasive, producing excellent mirror-like finishes with minimal relief.

Result of proper final polishing - 431 Stainless steel, 400X. The mirror-like surface reveals true microstructure without artifacts.
Final Polishing Techniques
- Use soft napped cloths, chemotextile, or porous polyurethane pads
- Apply light force (10-15 N per sample, lighter than the diamond steps)
- Keep platen speed low (100-150 RPM)
- On powered heads, co-rotation (head and platen turning the same direction) is the gentler default; counter-rotation is situational, mainly for edge-retention-critical work
- Use fresh oxide suspensions
- Monitor polishing time to avoid over-polishing and relief
- For colloidal silica, flush with water for the last 30-60 seconds while still polishing
- Clean sample thoroughly after polishing
Final Polishing Abrasives
- Colloidal Silica (0.05 μm): Most common, produces excellent finishes
- Colloidal Alumina (0.05 μm): Alternative to silica, less aggressive
- Deagglomerated Alumina: For consistent, uniform polishing
- Low Viscosity Alumina: Better flow and coverage
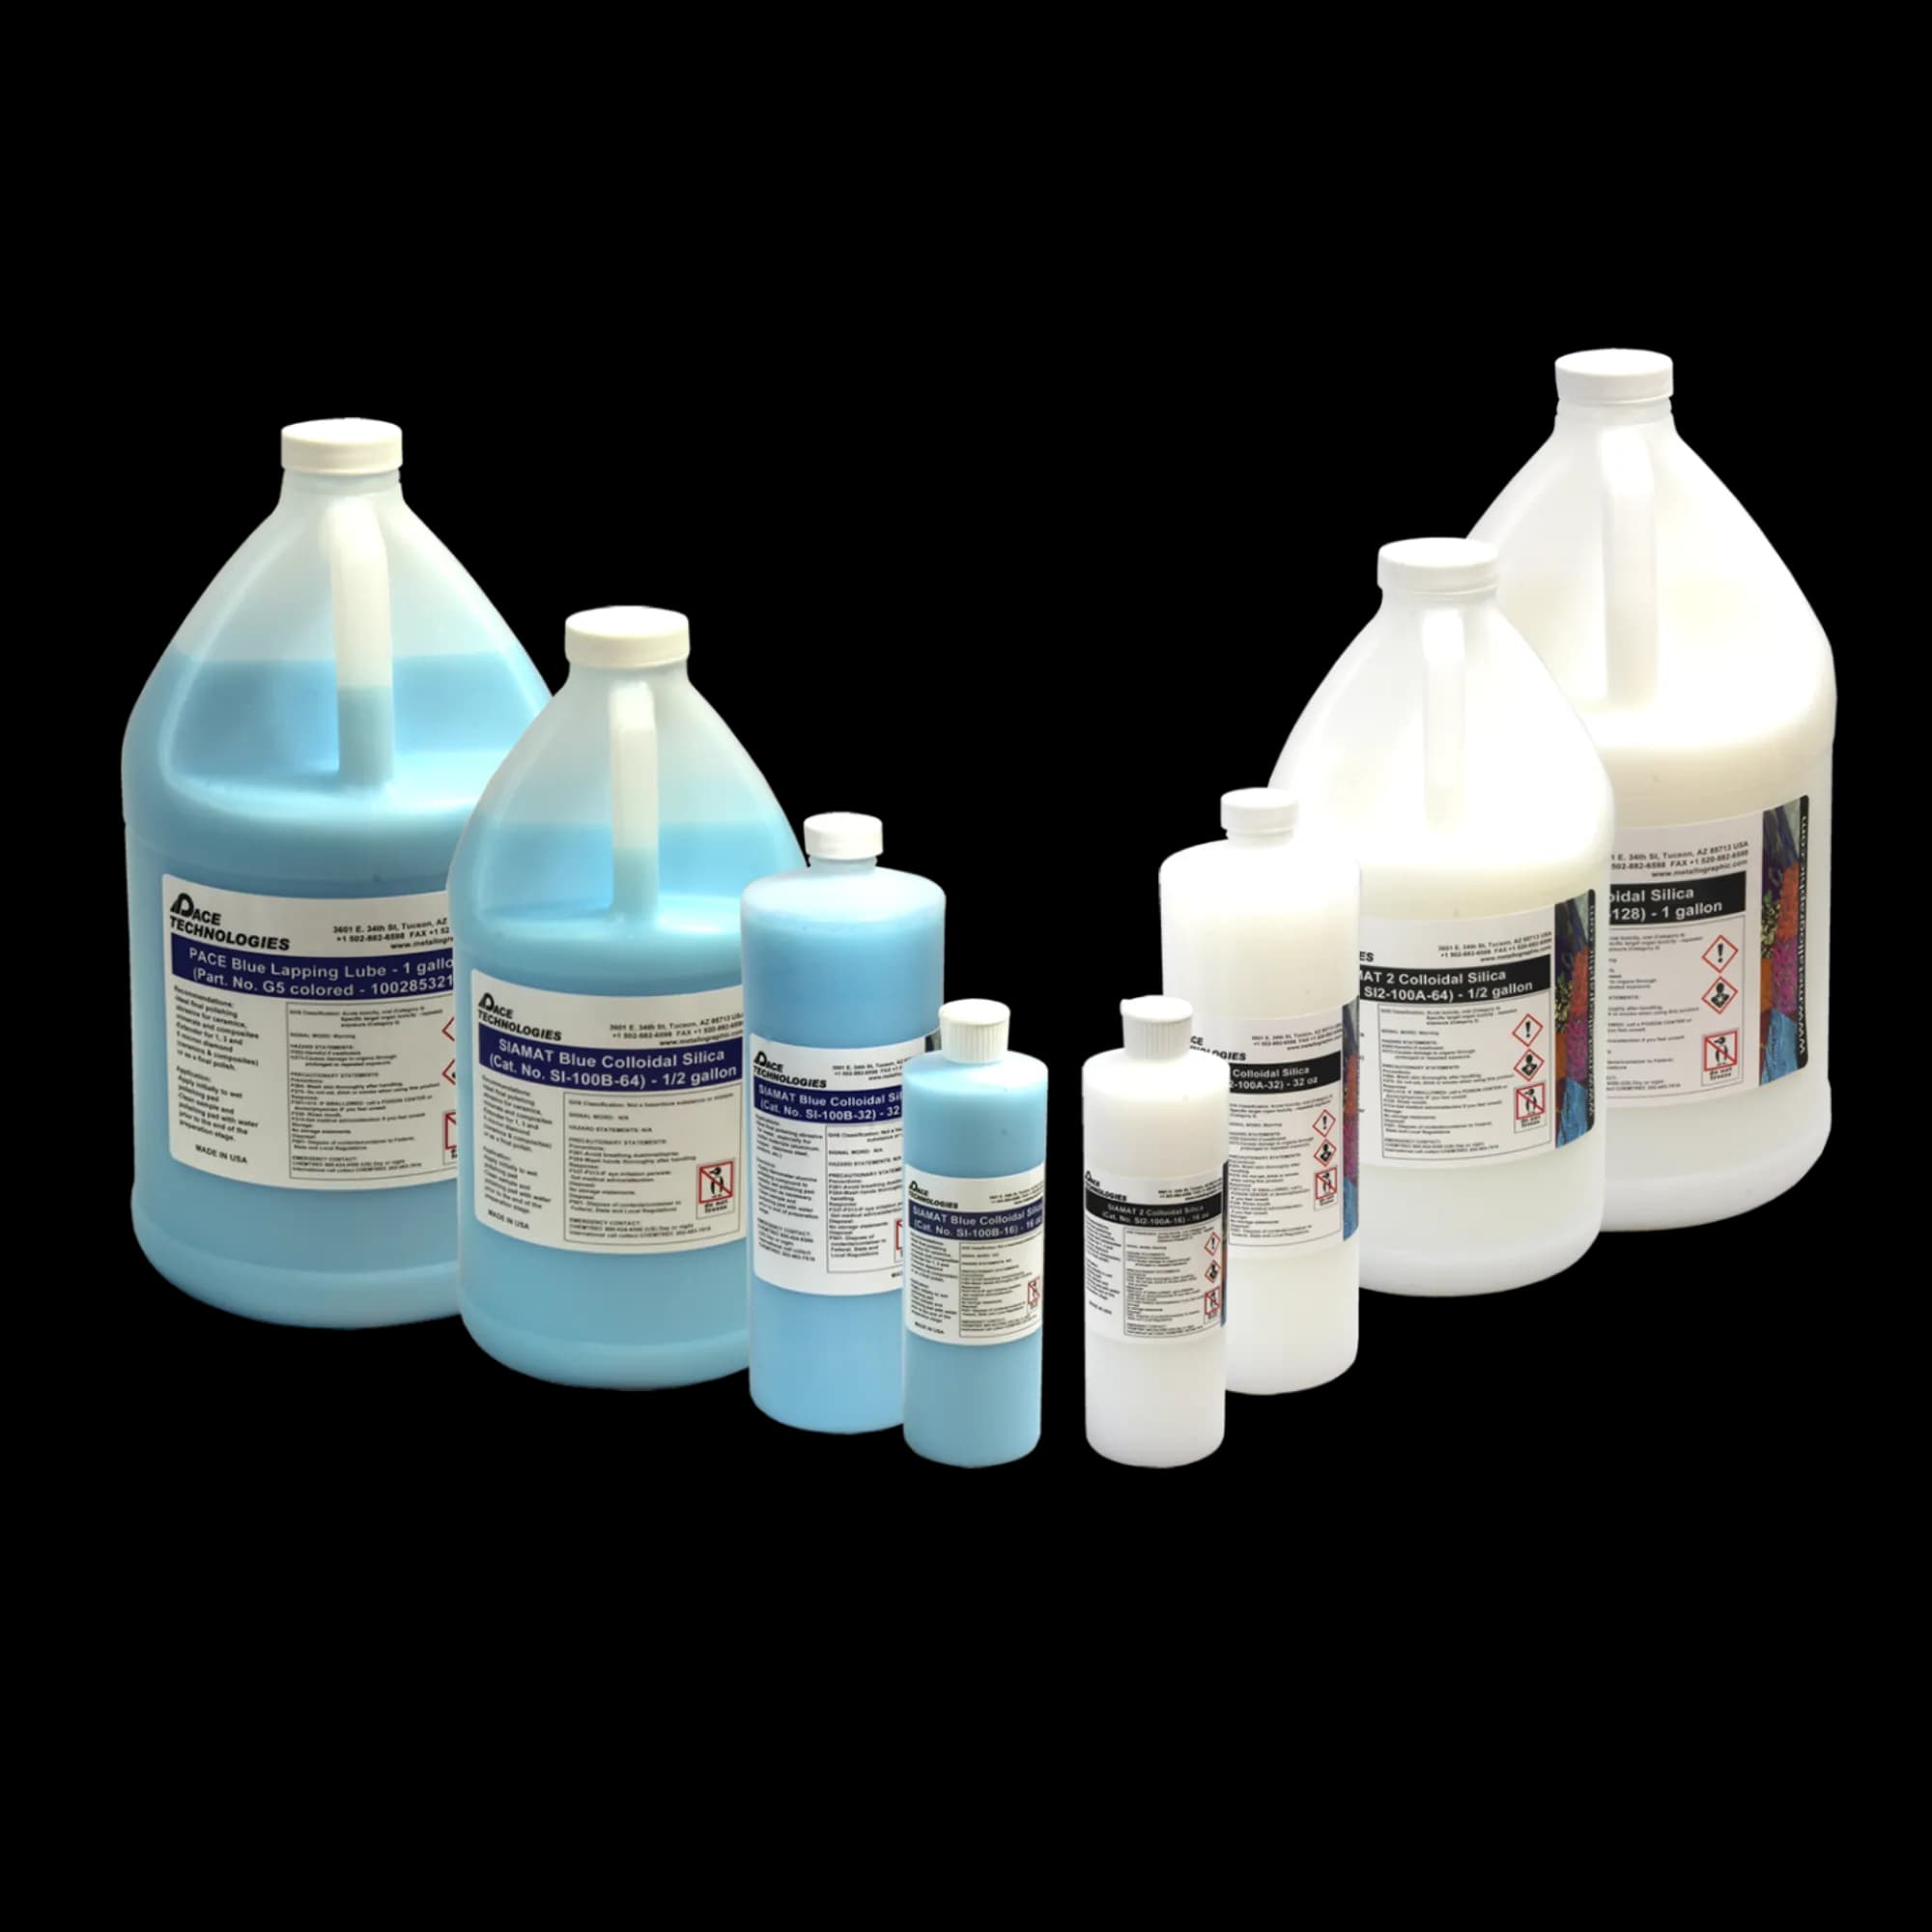
Example Products: Final Polishing AbrasivesFinal polishing abrasives including colloidal silica, various alumina types, and cerium oxide
For purchasing options and product specifications, see commercial supplier website.
Controlled Material Removal
Controlled removal polishing, also known as metered removal, allows for precise material removal in micron-level increments. This technique is essential for applications requiring extreme precision, such as:
- IC Flip Chip preparation
- SEM (Scanning Electron Microscopy) sample preparation
- FIB (Focused Ion Beam) sample preparation
- TEM (Transmission Electron Microscopy) sample preparation
- AFM (Atomic Force Microscopy) sample preparation
- EBSD (Electron Backscatter Diffraction) sample preparation
- Petrographic analysis
- Optical analysis requiring specific depth
How Controlled Removal Works
Controlled removal systems use precision measurement and feedback to remove material in exact increments. The system monitors removal in real-time with micrometer-level resolution, allowing operators to polish to specific depths or remove precise amounts of material.
Typical Capabilities
- Micrometer-adjustable pitch and roll control of the sample plane
- Real-time removal monitoring with sub-micrometer resolution
- Light, precisely controlled sample loads (typically grams, not newtons)
- Variable speed control to tune material removal rates
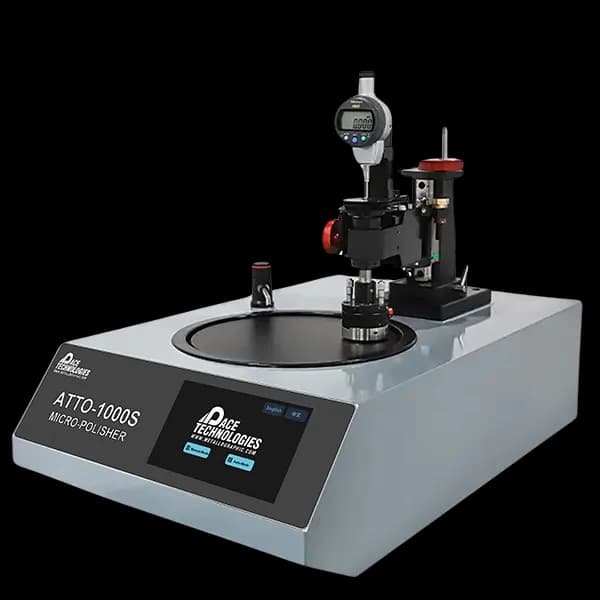
Equipment: Controlled Removal Polisher
A controlled removal polisher measures material removal in real time with micrometer-level accuracy, used when polishing must stop at a specific depth or point of interest.
View Controlled Removal Polishers →Vibratory Polishing
Vibratory polishing finishes the sample with low-energy oscillation (around 60 Hz) instead of a rotating platen and applied force. The sample sits face-down on the polishing cloth under gravity load alone - its own weight, or a stacked weight on the holder, typically 50-200 g total. Because there is no applied pressure, vibratory polishing removes the residual deformation layer without re-introducing mechanical damage, which is why it is the standard route to EBSD-grade surfaces and a good option for soft metals (magnesium, lead, copper) that smear under rotary polishing.
Advantages of Vibratory Polishing
- Removes the residual deformation layer without applied pressure
- Minimal relief, even on multi-phase materials, because the load is so low
- Reduces operator variability - the process runs unattended
- Suited to batch processing of multiple samples
- Forgiving: over-polishing produces no benefit, but also little harm
Vibratory Polishing with the GIGA S
Learn vibratory polishing techniques from Dr. Donald Zipperian. This video demonstrates how to use a vibratory polisher for final polishing, including setup, parameter selection, and preparing deformation-free surfaces for EBSD and high-quality microstructural analysis.
Video by Dr. Donald Zipperian, PhD - PACE Technologies | Watch on YouTube
Vibratory Polishing Process
- Prepare sample through standard grinding and mechanical polishing (through 1 μm diamond or the first oxide step)
- Add polishing suspension to the bowl - colloidal silica is the workhorse for EBSD; 0.05 μm alumina is the common alternative
- Set vibration amplitude or power for the desired polishing rate
- Place samples face-down in the bowl under gravity load only (50-200 g; no applied pressure)
- Allow 1-24 hours depending on material and the surface quality required
- Check the bowl periodically; extend or stop based on surface inspection
Applications
- EBSD sample preparation
- Soft metals (Mg, Pb, Cu) that re-deform under rotary polishing
- Final polishing for high-quality microstructural analysis
- Batch processing multiple samples
- Applications requiring minimal deformation
Other Stress-Free Finishing Methods
Vibratory polishing is one of several alternative-physics finishing methods used when mechanical polishing cannot deliver a deformation-free surface:
- Electropolishing: anodic dissolution in an electrolyte bath, typically 20-60 V. Voltage and current density together control the polishing-versus-etching balance - too low and the surface etches, too high and it pits. Many electrolytes require cooling to 0-5 °C to avoid runaway etching. Common for stainless steels, copper, aluminum, and nickel alloys, and for thin foils or geometries that do not suit mechanical polishing.
- Ion milling and broad ion beam (BIB): an argon beam sputters away the deformation layer at a shallow angle (1-6° for lowest damage). Used for TEM preparation, semiconductor cross-sections, and the highest-quality EBSD surfaces.

Equipment: Vibratory Polisher
A vibratory polisher finishes samples with low-energy oscillation under gravity load only, producing deformation-free surfaces for EBSD and high-magnification analysis.
View Vibratory Polishers →Material-Specific Polishing Techniques
Hard Materials (Hardened Steels, Ceramics)
- Use polycrystalline diamond for aggressive cutting
- Longer polishing times may be required
- Can tolerate higher pressure
- May benefit from controlled removal for precision work
Soft Materials (Aluminum, Copper, Lead)
- Use monocrystalline diamond for gentler cutting
- Shorter polishing times to avoid over-polishing
- Light pressure to prevent deformation
- Monitor carefully for smearing
Work-Hardening Materials (Stainless Steel, Nickel Alloys)
- Use consistent, moderate pressure
- Avoid excessive polishing time
- Progress through grits systematically
- Consider vibratory polishing for final stage
Multi-Phase Materials
- Use harder pads to minimize relief. Relief is caused by softer napped pads conforming around hard phases and recessing the softer matrix; a harder pad (woven or synthetic suede) keeps the surface co-planar across the phase boundary. Reach for chemotextile only at the very last step, if at all.
- Shorter polishing times to prevent over-polishing
- Use chemo-mechanical action (colloidal silica, optionally with H₂O₂ for Cu) at the final step — it removes the softer phase chemically rather than mechanically, reducing the height differential that creates relief.
- Vibratory polishing under low load is excellent for multi-phase systems because the low force minimizes mechanical relief while still finishing the surface.
Troubleshooting Common Issues

Proper polishing technique prevents relief and surface defects. This image shows how correct polishing maintains inclusion integrity without creating artifacts around different phases.
Scratches Not Removing
- Insufficient polishing time at current stage
- Grit progression too aggressive (skipped sizes)
- Cloth too hard or too soft for current stage
- Insufficient or contaminated abrasive
Relief Around Inclusions or Phases
- Over-polishing - reduce polishing time
- Cloth too soft - use harder cloth
- Pressure too high - reduce pressure
- Consider vibratory polishing for final stage
Contamination
- Not cleaning sample between stages
- Using contaminated abrasives or cloths
- Cross-contamination from previous steps
- Dirty polishing equipment
Poor Surface Quality
- Incomplete removal of previous scratches
- Inappropriate cloth selection
- Incorrect abrasive type or size
- Insufficient polishing time
Over-Polishing
- Excessive polishing time
- Too soft a cloth for material
- Pressure too high
- Inappropriate abrasive selection
Recommended Equipment
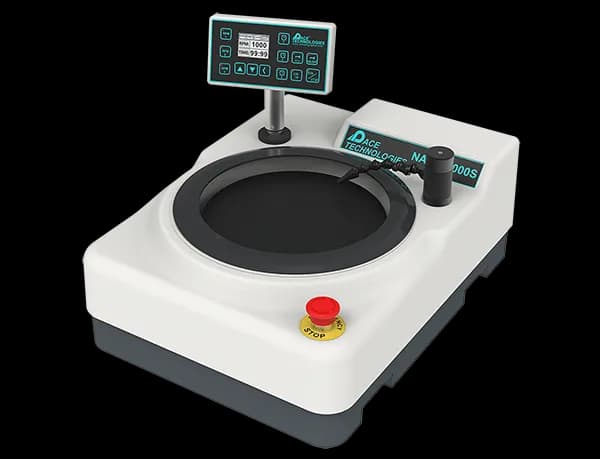
Manual Polishers
Manual grinder-polishers provide variable platen speed for both grinding and polishing steps. Available in single, double, or large wheel configurations.
View Manual Polishers →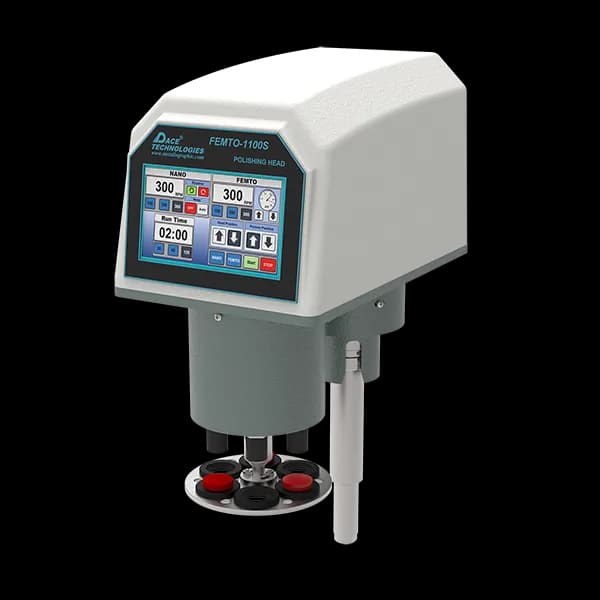
Semi-Automated Polishing Attachments
Semi-automatic power heads attach to manual polishers to automate force application and improve consistency.
View Semi-Automatic Attachments →Controlled Removal Polisher
Controlled removal polishers measure material removal in real time with micrometer-level precision for polishing to a specific depth.
View Controlled Removal Polishers →Vibratory Polisher
Vibratory polishers finish samples with low-energy oscillation under gravity load only, removing the residual deformation layer for EBSD-grade surfaces.
View Vibratory Polishers →Explore More Procedures
Browse our comprehensive procedure guides for material-specific preparation methods and get personalized recommendations.
Polishing is where "what worked last time" lives or dies. If a lab keeps polishing recipes in a binder or in someone's head, a metallography ELN like Materials Prep gives those recipes a structured home and links them to the batches where they were used.