Complete Guide to Metallographic Mounting: Compression vs. Castable Methods
Learn the fundamentals of metallographic mounting, including compression and castable methods, to ensure optimal sample preparation for grinding, polishing, and analysis.
Table of Contents
Introduction to Metallographic Mounting
Mounting is a critical step in metallographic sample preparation that involves embedding a specimen in a resin material to create a standardized, easy-to-handle sample. This process transforms irregularly shaped or small samples into uniform mounts that can be efficiently processed through grinding, polishing, and analysis.
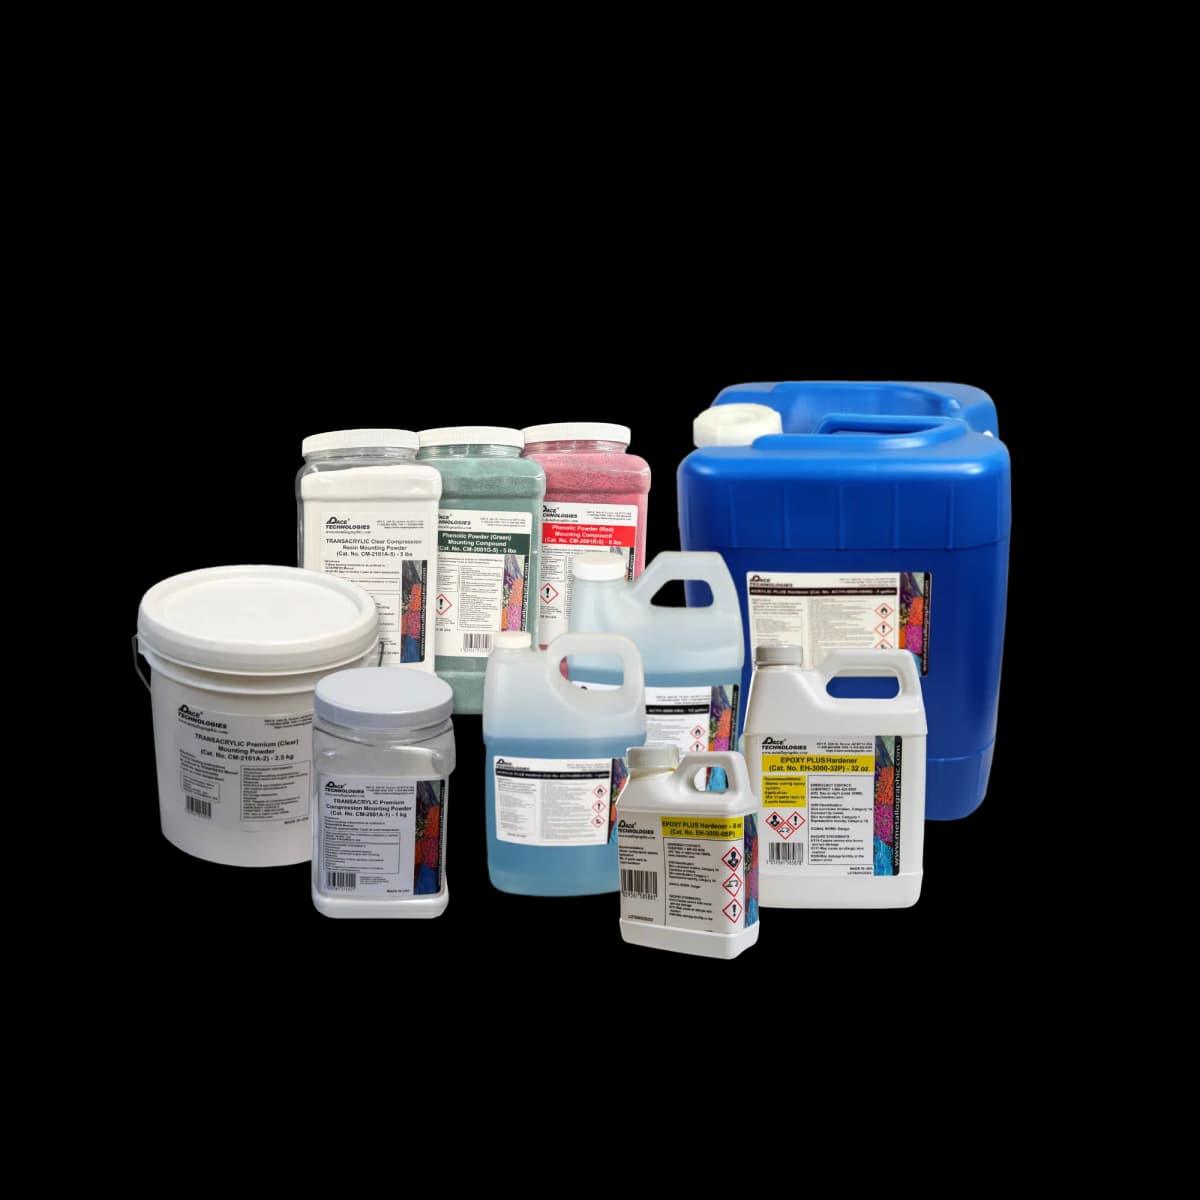
Mounting materials and equipment for metallographic sample preparation. Proper mounting ensures easier handling, edge retention, and protection of delicate features.
Why Mount Specimens?
Mounting serves several essential purposes in metallography:
- Easier handling: Small, irregular, or sharp samples become safe and manageable
- Edge retention: Protects edges and corners from rounding during grinding and polishing
- Protection of delicate features: Prevents damage to fragile structures, coatings, or thin sections
- Compatibility with grinding/polishing: Creates a uniform surface that works well with automated systems
- Standardization: Produces consistent sample sizes and shapes for reproducible results
- Orientation control: Allows precise positioning of the sample for specific analysis requirements
The two main mounting methods are compression mounting and castable mounting. Each has distinct advantages and is suited to different applications and sample types.
Overview of Mounting Methods
Understanding the key differences between compression and castable mounting helps you select the most appropriate method for your samples and workflow.
| Characteristic | Compression Mounting | Castable Mounting |
|---|---|---|
| Speed | Fast (5-15 minutes per cycle) | Slower (8-15 minutes for acrylics, up to 6-12 hours for epoxies) |
| Cost | Moderate to high (equipment + consumables) | Lower (minimal equipment needed) |
| Hardness | High (excellent edge retention) | Variable (depends on resin type) |
| Temperature | High (150-180°C) | Low to ambient (room temperature) |
| Pressure | High (typically 3000-4500 psi) | Low to none |
| Best For | High throughput, metals, automated labs | Delicate samples, heat-sensitive materials, multiple samples |
Compression Mounting
Compression mounting is a fast, efficient method that uses heat and pressure to form a solid mount from resin pellets. This method is widely used in high-throughput laboratories and for standard metal samples.
The Compression Mounting Process
The compression mounting process involves several key steps:
- Sample preparation: Clean the sample thoroughly to remove cutting fluid, debris, and contaminants
- Resin selection: Choose appropriate resin pellets based on material and requirements
- Loading: Place the sample in a mounting mold and add resin pellets around it
- Heating: Apply heat (typically 150-180°C) to soften the resin
- Compression: Apply high pressure (typically 3000-4500 psi depending on resin type; ~4200 psi is a common setpoint) to form the mount
- Curing: Hold temperature and pressure for about 5 minutes (3-7 minutes depending on resin) to ensure complete curing
- Cooling: Cool the mount under pressure (about 3 minutes or until near ambient) before depressurizing and removal. Cooling under pressure prevents the resin from shrinking away from the sample and leaving a gap at the interface

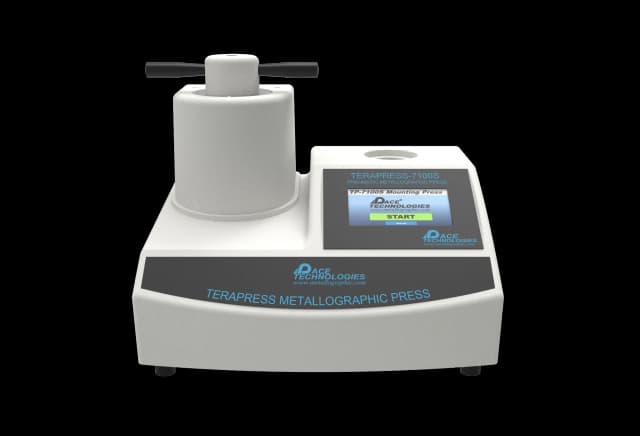
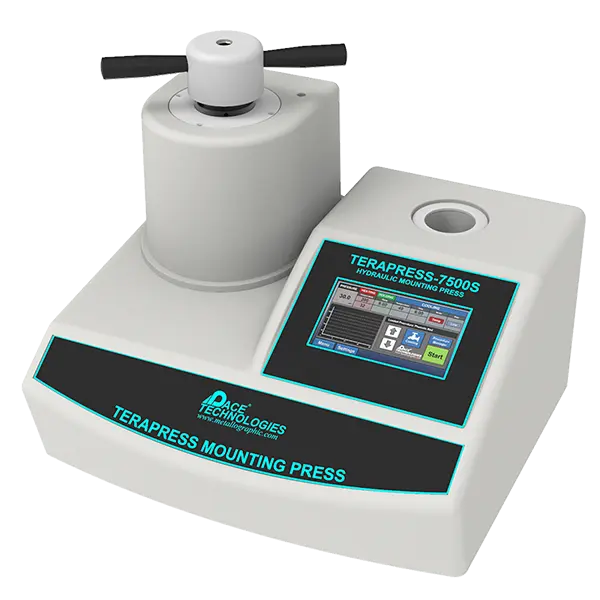
Hydraulic compression mounting press. Compression mounting presses apply heat and pressure to create durable mounts quickly.
Common Compression Mounting Materials
Edge retention varies significantly between resin families. For coating thickness, case depth, decarburization, and any other near-edge analysis, the resin choice matters more than the polishing recipe. Glass-filled epoxy is the strongest performer; phenolic is fast and economical but only fair for edge retention.
- Glass-filled epoxy thermoset: The best performer for edge retention. The glass particulate keeps the mount stiff and resistant to differential wear at the sample boundary. First choice for coatings, case-hardened layers, electronic die packages, and any near-edge analysis. Requires 3000–4500 psi and 150–180 °C.
- Diallyl phthalate (DAP) / epoxy thermosets: Hard, low shrinkage, good edge retention. Solid middle-ground choice for general work where edge quality matters but glass-filled isn't required.
- Phenolic: Hard, opaque, fast cycle, lowest cost. Edge retention is fair — adequate for routine work where the field of view is in the bulk, not at the edge. Not the right choice for case-depth or coating-thickness measurement. Requires 3000–4000 psi and 150–180 °C. Phenolic resins (originally Bakelite) were first introduced for metallographic mounting in 1928.
- Acrylic (compression-cured): Transparent, lower hardness. Useful when you need to see through the mount to the sample. Edge retention is poor to fair.
- Conductive (graphite or copper-filled epoxy/phenolic): Conducts electrons; required for SEM/EDS work to prevent charging.
Key Benefits of Compression Mounting
- Durability: Produces hard, robust mounts that withstand aggressive grinding and polishing
- Speed: Complete mounting cycle in 5-15 minutes
- Edge definition: Excellent edge retention, critical for analyzing coatings, edges, or interfaces
- Consistency: Automated presses ensure reproducible results
- High throughput: Ideal for processing many samples efficiently
Ideal Use Cases
- High-volume sample preparation in quality control labs
- Standard metal samples requiring robust mounts
- Automated grinding and polishing workflows
- Applications requiring excellent edge retention
- Production environments with consistent sample types
Compression Mounting Demonstration
Learn compression mounting techniques from Dr. Donald Zipperian. This video demonstrates proper sample preparation, resin selection, and the complete compression mounting process using PACE Technologies equipment.
Video by Dr. Donald Zipperian, PhD - PACE Technologies | Watch on YouTube
Required Equipment: Compression Mounting Press
Hydraulic and pneumatic compression mounting presses provide automated control of temperature, pressure, and timing for consistent, high-quality mounts.
View Compression Mounting Equipment →Example Products: Compression Mounting ResinsPhenolic, epoxy, diallyl phthalate, and acrylic compression mounting resins
For purchasing options and product specifications, see commercial supplier website.
Castable Mounting
Castable mounting involves pouring liquid resin into a mold around the sample and allowing it to cure at room temperature or with minimal heating. This method is ideal for delicate, heat-sensitive, or irregularly shaped samples.
How Castable Mounting Works
The castable mounting process is gentler than compression mounting:
- Sample preparation: Clean and dry the sample thoroughly
- Mold setup: Place the sample in an appropriate mold (silicone, metal, or reusable molds)
- Resin mixing: Mix resin components according to manufacturer instructions (for two-part systems)
- Pouring: Pour liquid resin into the mold, ensuring the sample is fully surrounded
- Bubble removal: Use vacuum or gentle tapping to remove air bubbles (if needed)
- Curing: Allow resin to cure at room temperature or use UV curing (for UV-curable resins)
- Demolding: Remove the cured mount from the mold
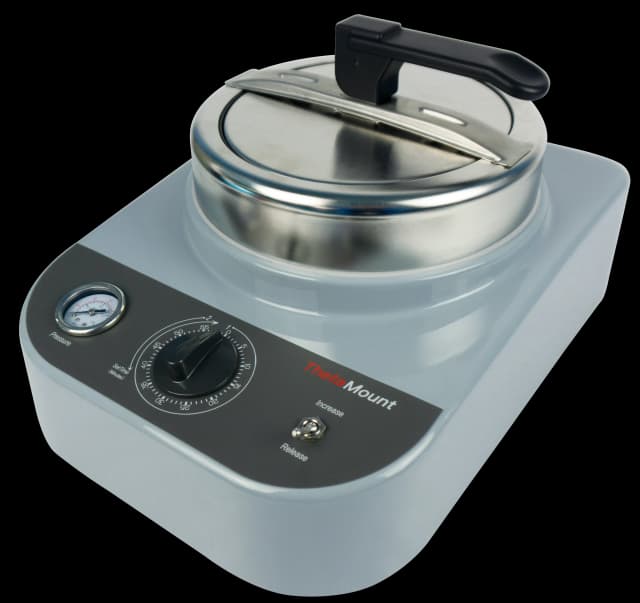
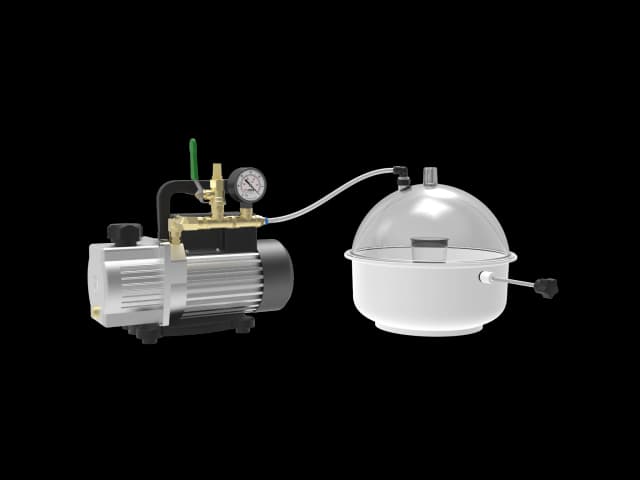
Pressure mounting system for castable mounting with pressure assistance to eliminate bubbles.
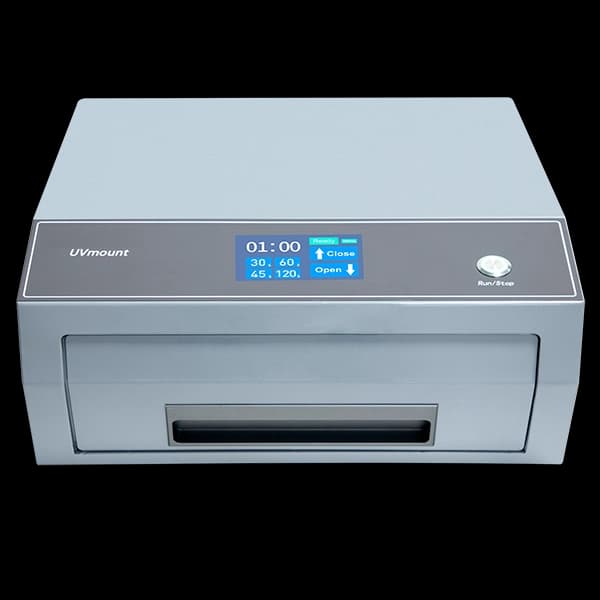
UV curing chamber for fast curing of UV-curable mounting resins.
Castable Resin Types
- Epoxy: Strong adhesion, minimal shrinkage, low exotherm, excellent for edge retention. Two-part system with longer cure time (typically 6-12 hours at room temperature). Best for critical applications, porous samples, and vacuum impregnation.
- Acrylic (methyl methacrylate): Very fast curing (8-15 minutes) but strongly exothermic, with more shrinkage than epoxy. Good for quick-turnaround work where edge retention is not critical.
- Polyester: Budget-friendly option with hardness between epoxy and acrylic. Cure time of roughly 30 minutes to 2 hours. Suitable for cost-sensitive, non-critical applications.
- UV-curable: Very fast curing (minutes) when exposed to UV light. Requires UV curing equipment but offers rapid turnaround.
Benefits of Castable Mounting
- Lower pressure: No high-pressure application, protecting delicate samples
- Heat-sensitive friendly: Room temperature curing prevents thermal damage
- Flexible geometry: Can accommodate irregular shapes and multiple samples in one mount
- Cost-effective: Minimal equipment investment required
- Good adhesion: Liquid resin flows around sample features for excellent contact
Limitations and Considerations
- Longer cure time: Cure times range from 8-15 minutes for acrylics to 6-12 hours for slow epoxies
- Exotherm: Fast-curing acrylics generate significant heat as they cure; large pours can stress or damage very heat-sensitive samples
- Air bubbles: May require vacuum degassing to eliminate porosity, especially for epoxy resins
- Shrinkage: Some resins (acrylics in particular) shrink during curing, which can affect edge retention
- Hardness: Generally softer than compression mounts, may require careful polishing
Vacuum and Pressure Impregnation
For porous samples (thermal spray coatings, sintered parts, ceramics, cracked or weathered specimens), vacuum and pressure impregnation drives resin into pores that would otherwise remain open in the polished face. Without impregnation, voids fill with abrasive during grinding and bleed during etching.
- Vacuum draw: Pull a vacuum greater than 25 inHg and pour the resin (low-viscosity epoxy penetrates best) while the chamber is under vacuum, so trapped gas expands out of the pores and is displaced by resin
- Pressure cure: Cure under 1-4 bar of pressure to compress any remaining gas and force resin into the voids
- Keep the vacuum step short: Holding vacuum too long before pouring causes dissolved gases in the resin itself to bubble out, creating new porosity
Castable/Cold Mounting with Vacuum Chamber
Watch Dr. Donald Zipperian demonstrate castable mounting techniques, including the use of vacuum chambers to eliminate air bubbles and ensure porosity-free mounts for delicate and heat-sensitive samples.
Video by Dr. Donald Zipperian, PhD - PACE Technologies | Watch on YouTube
Optional Equipment: Vacuum and UV Curing Systems
Vacuum systems remove air bubbles for porosity-free mounts. UV curing chambers enable rapid curing of UV-curable resins, significantly reducing processing time.
View Castable Mounting Equipment →Example Products: Castable Mounting ResinsEpoxy, acrylic, polyester, and UV-curable castable mounting resins
For purchasing options and product specifications, see commercial supplier website.
When to Choose Which Method
Selecting the appropriate mounting method depends on your sample characteristics, throughput requirements, and available equipment. Use this decision guide to make the right choice.
Use Compression Mounting When:
- High throughput is needed: Processing many samples per day requires the speed of compression mounting
- Standard metal samples: Most metals can withstand the heat and pressure of compression mounting
- Excellent edge retention is critical: Compression mounts (especially glass-filled epoxy) give the best edge definition
- Automated lab workflow: Compression presses integrate well with automated grinding and polishing systems
- Consistent, robust mounts needed: Compression mounting produces uniform, durable mounts
Use Castable Mounting When:
- Fragile or delicate specimens: Samples that cannot withstand high pressure or temperature
- Heat-sensitive materials: Polymers, composites, or materials that degrade at elevated temperatures
- Multiple samples in one mount: Castable mounting easily accommodates several samples
- Irregular geometries: Complex shapes that benefit from liquid resin flow
- Limited equipment budget: Castable mounting requires minimal initial investment
- Low to moderate throughput: When speed is less critical than sample protection
Quick Decision Matrix
Sample is heat-sensitive or fragile?
→ Choose Castable Mounting
Need to process 20+ samples per day?
→ Choose Compression Mounting
Edge retention is the top priority?
→ Choose Compression Mounting
Mounting multiple samples together?
→ Choose Castable Mounting
Mounting Best Practices
Following best practices ensures high-quality mounts that facilitate excellent grinding, polishing, and analysis results.
Sample Orientation
- Plan your analysis: Orient the sample to expose the surface of interest (cross-section, longitudinal, etc.)
- Edge analysis: For edge or coating analysis, ensure the edge is perpendicular to the mount surface
- Multiple samples: When mounting multiple samples, maintain consistent orientation for comparison
- Labeling: Consider sample orientation when placing labels or identifiers
Handling Sharp or Complex Geometries
- Sharp edges: Use castable mounting for very sharp samples to avoid pressure damage
- Thin sections: Support thin samples with backing material or use low-pressure methods
- Irregular shapes: Castable mounting allows resin to flow around complex geometries
- Small samples: Consider mounting multiple small samples together for easier handling
Avoiding Air Bubbles
- Clean samples: Ensure samples are completely dry before mounting
- Proper mixing: For two-part resins, mix thoroughly but avoid introducing air
- Vacuum degassing: Use vacuum systems for epoxy resins to remove trapped air
- Gentle pouring: Pour castable resins slowly and steadily to minimize bubble formation
- Temperature control: Some resins are more prone to bubbles at certain temperatures
Labeling and Identification
- Embedded labels: Place sample identifiers or labels in the mount for permanent tracking
- Color coding: Use colored resins or dyes to distinguish sample groups
- Documentation: Record mounting parameters (resin type, temperature, pressure, time) for reproducibility
Cleaning and Preparation
- Remove cutting fluid: Clean samples thoroughly with appropriate solvents
- Dry completely: Ensure samples are dry to prevent moisture-related defects
- Remove loose particles: Clean samples to prevent contamination in the mount
- Handle with care: Avoid touching critical surfaces with bare hands
Resin Mixing (for Castable Mounting)
- Follow manufacturer instructions: Use correct mixing ratios and procedures
- Mix thoroughly: Ensure complete mixing without introducing excessive air
- Work quickly: Many resins have limited pot life after mixing
- Temperature considerations: Room temperature affects cure time and viscosity
Common Mounting Defects and How to Avoid Them
Understanding common mounting defects helps you troubleshoot issues and achieve consistent, high-quality results. Use this quick-reference table to identify and resolve mounting problems.
| Defect Type | Symptoms | Causes and Solutions |
|---|---|---|
| Air Entrapment | Visible bubbles or voids in the mount, especially near the sample |
|
| Incomplete Curing | Soft or tacky mount surface, poor edge retention, mount failure during grinding |
|
| Resin Cracking | Cracks in the mount, especially at edges or around the sample |
|
| Poor Edge Retention | Rounded edges, loss of edge definition during grinding/polishing |
|
| Sample Damage | Cracks, deformation, or microstructural changes in the sample |
|
| Mount-Sample Gap / Etchant Bleed-Out | Visible gap at the sample-mount boundary; sample lifts during polishing; dark staining that bleeds from the boundary after etching |
|
| Contamination | Foreign particles, discoloration, or artifacts in the mount |
|
Troubleshooting Tips
- Always document mounting parameters (temperature, pressure, time, resin type) for troubleshooting
- Keep a reference mount of known quality for comparison
- Inspect mounts before proceeding to grinding - it's easier to remount than to fix issues later
- When in doubt, test mounting parameters on non-critical samples first
- Consult resin manufacturer specifications for optimal conditions
Summary
Metallographic mounting is a fundamental step that greatly impacts the quality and efficiency of your sample preparation workflow. Selecting the right mounting method (whether compression or castable) depends on your specific sample characteristics, throughput requirements, and available resources.
Key Takeaways
- Compression mounting offers speed, durability, and excellent edge retention for high-throughput metal sample preparation
- Castable mounting provides gentle, low-pressure mounting ideal for delicate, heat-sensitive, or irregularly shaped samples
- Proper sample preparation, orientation, and resin selection are critical for successful mounting
- Understanding and avoiding common defects ensures consistent, high-quality mounts
- Good mounting technique sets the foundation for optimal grinding and polishing results
Remember that mounting is the foundation of your sample preparation process. A well-executed mount makes subsequent grinding and polishing steps more efficient and effective, leading to better microstructural analysis results. Take time to select the appropriate method, follow best practices, and you'll be rewarded with mounts that support excellent metallographic analysis.
Recommended Equipment
Compression Mounting Presses
Hydraulic and pneumatic compression mounting presses provide automated control of temperature, pressure, and timing for consistent, high-quality mounts. Ideal for high-throughput laboratories.
View Compression Mounting Equipment →Castable Mounting Systems
Pressure mounting systems, UV curing chambers, and vacuum systems enhance castable mounting results by eliminating bubbles and accelerating cure times for faster turnaround.
View Castable Mounting Equipment →Explore More Procedures
Browse our comprehensive procedure guides for material-specific preparation methods and get personalized recommendations.