Tool Steel and Hardened Steel Sample Preparation
A comprehensive guide to preparing very hard tool steels and hardened steels for metallographic analysis, with emphasis on preserving carbides and revealing complex microstructures.
Introduction
Tool steels and hardened steels are among the most challenging materials to prepare for metallographic analysis. These materials are very hard (commonly 45-65 HRC in the hardened condition, with high-speed steels at the top of that range and beyond — fully hardened M42 can reach 68 HRC) and contain complex carbide structures that must be preserved throughout preparation. The high hardness requires extended grinding and polishing times, while the presence of carbides demands careful techniques to avoid pullout or damage.
Critical Principle: Carbide preservation is essential. Carbides are hard, brittle phases that can be pulled out during grinding and polishing, leaving voids in the microstructure. Extended preparation times and careful monitoring are required.
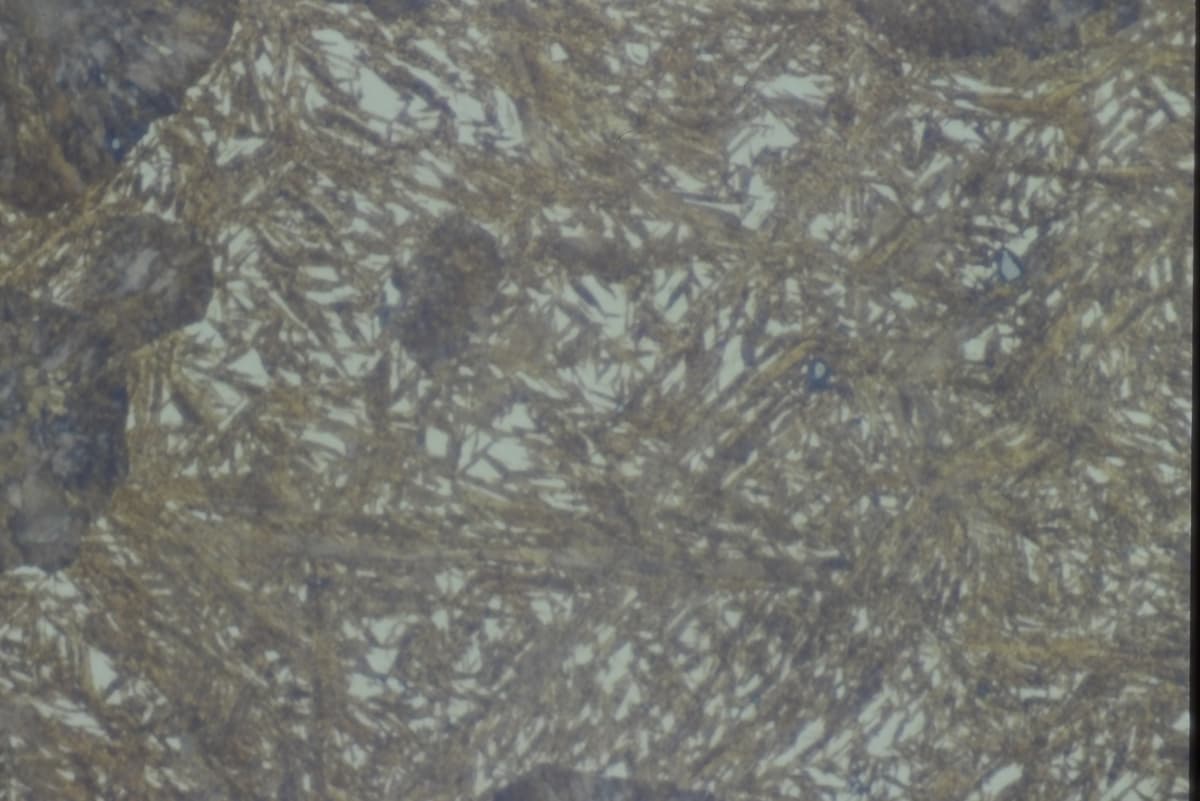
1095 Steel water quenched to martensite, Vilella's reagent, 1000X magnification. Tool steels and hardened steels typically show martensitic structures with carbides. Proper preparation preserves carbides while revealing the matrix microstructure.
This guide covers several categories of very hard materials:
- Tool Steels: Air-hardening (A2, A4, A6), oil-hardening (O1), high-speed steels (M2, M42), hot-work (H11, H13, H21), and cold-work (D2) tool steels
- Through-Hardened Steels: Steels like 1080, 52100, and 4340 in their hardened condition
- Case-Hardened Steels: Carburized or nitrided steels like 8620 and 9310 with hardened surface layers
All of these materials share common preparation challenges: very high hardness, presence of carbides, and the need for extended preparation times. The techniques described here apply to all of them, with specific notes for particular material types.
Sectioning
Section tool steels and hardened steels on a standard abrasive cutoff saw at typical metallographic surface speeds (~2,500-4,500 SFM). The right answer for hardness is blade selection, not a slower wheel — a blade whose bond does not suit the material glazes and burns rather than cutting. For HRC > 45, use a harder-bond Al₂O₃ blade (the hardened-steel blade category). For very brittle, very-high-carbide grades — fully hardened M42,D2, T-grades — escalate to a precision (low-speed) saw with a diamond wafering blade to avoid micro-crack damage from the abrasive cutoff. Coolant flood is non-negotiable on hardened material.
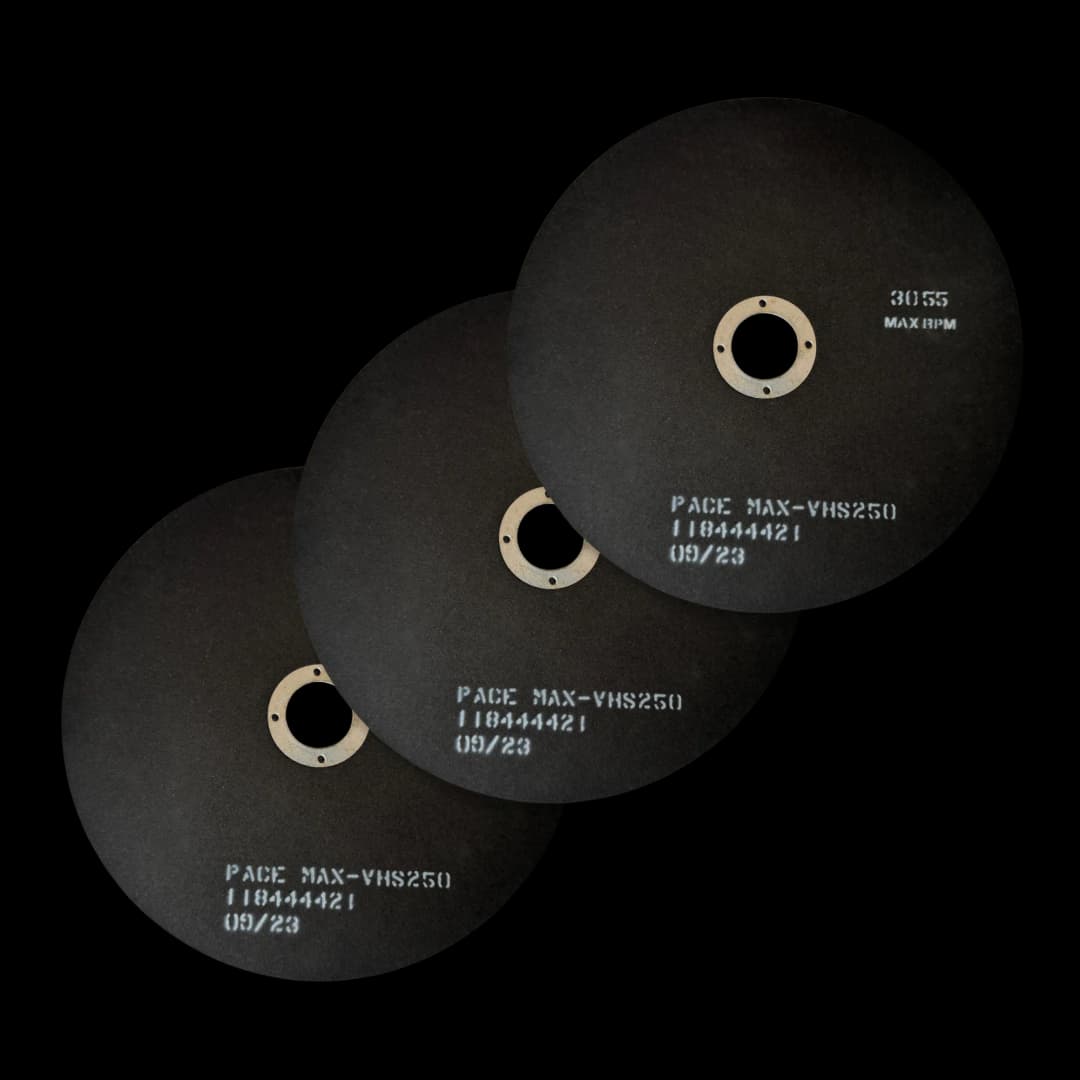
Hard-bond Al₂O₃ abrasive cut-off blades designed for very hard and case-hardened steels. This blade category is essential for tool steels and hardened steels.
- Use a hard-bond Al₂O₃ abrasive blade (the hardened/case-hardened steel category) for hardened tool steels and case-hardened components
- For fully hardened high-carbide grades (M42, D2, T-grades), prefer a precision saw with a diamond wafering blade
- Use a thin abrasive cut-off wheel (0.5-1.0 mm thickness)
- Apply steady, moderate pressure - avoid forcing
- Use flood coolant — surface rehardening from sectioning is a real artifact and coolant is the lever that controls it
- Allow the wheel to do the cutting - these materials are very hard
Important: For case-hardened steels, cut perpendicular to the case to preserve the case-core interface. For through-hardened steels, standard cutting techniques apply with the harder bond blade noted above.
Example Products: Hardened-Steel Abrasive BladesHard-bond Al₂O₃ abrasive blades formulated for very hard and case-hardened steels — the right category for tool steels
For purchasing options and product specifications, see commercial supplier website.
Mounting
Mounting provides edge retention and easier handling. For tool steels and hardened steels, the canonical choice is a glass-filled epoxy compression mount. Plain phenolic (Bakelite-style) is the wrong move on hardened material: the resin wears 2-3× faster than the steel and rounds the sample-mount boundary, which is the primary cause of poor edge retention on hardened low-alloy and tool steels — exactly when edge retention matters most (case-depth measurement on carburized 8620/9310, surface-decarb checks, near-edge carbide distribution).
Compression Mounting
Glass-filled epoxy gives the edge-retention performance phenolic is sometimes credited with, without the differential-wear problem. Use it for fully hardened tool steels (HRC > 50), high-speed steels, and all case-hardened components.
- Clean the sample thoroughly to remove cutting fluid and debris
- Place sample in mounting press with glass-filled epoxy (preferred for hardened steels) or plain epoxy
- Apply pressure: 3000-4000 psi for glass-filled epoxy, 2000-3000 psi for plain epoxy
- Heat to 150-180°C and hold for 5-8 minutes
- Cool under pressure to room temperature
For Case-Hardened Steels: Mount with the case edge exposed if you need to measure case depth. Glass-filled epoxy is what makes that measurement defensible — plain phenolic will round the case boundary by 20-50 µm and bias the reading.
Grinding
Grinding removes sectioning damage and prepares the surface for polishing. For tool steels and hardened steels, use extended grinding sequences with longer times per step due to the very high hardness. The presence of carbides demands careful abrasive choice to avoid pullout.
Abrasive choice — this is the lever for carbide pullout. SiC papers (~9.5 Mohs) have little hardness margin over the M₆C, MC, and M₂C carbides in high-speed steels and high-carbide cold-work grades — vanadium-rich MC carbides are actually harder than SiC — so the abrasive plows the carbide instead of cutting it, which is what produces the pullout the rest of this section warns about. For carbide-rich tool steels — M2,M42, D2, T-grades — use a diamond grinding ladder (75 → 30 → 15 → 9 µm on diamond-impregnated discs or films). Lighter pressure on SiC mitigates the symptom; diamond removes the cause. SiC is acceptable for lower-carbide-volume hardened grades like A2, O1, S7, H11/H13, and through-hardened 4140/4340/52100.
Time per step: These materials are very hard and require extended grinding times. Expect 60-120 seconds per grit, significantly longer than softer materials. Use consistent, moderate pressure — excessive force pulls carbides regardless of abrasive type.
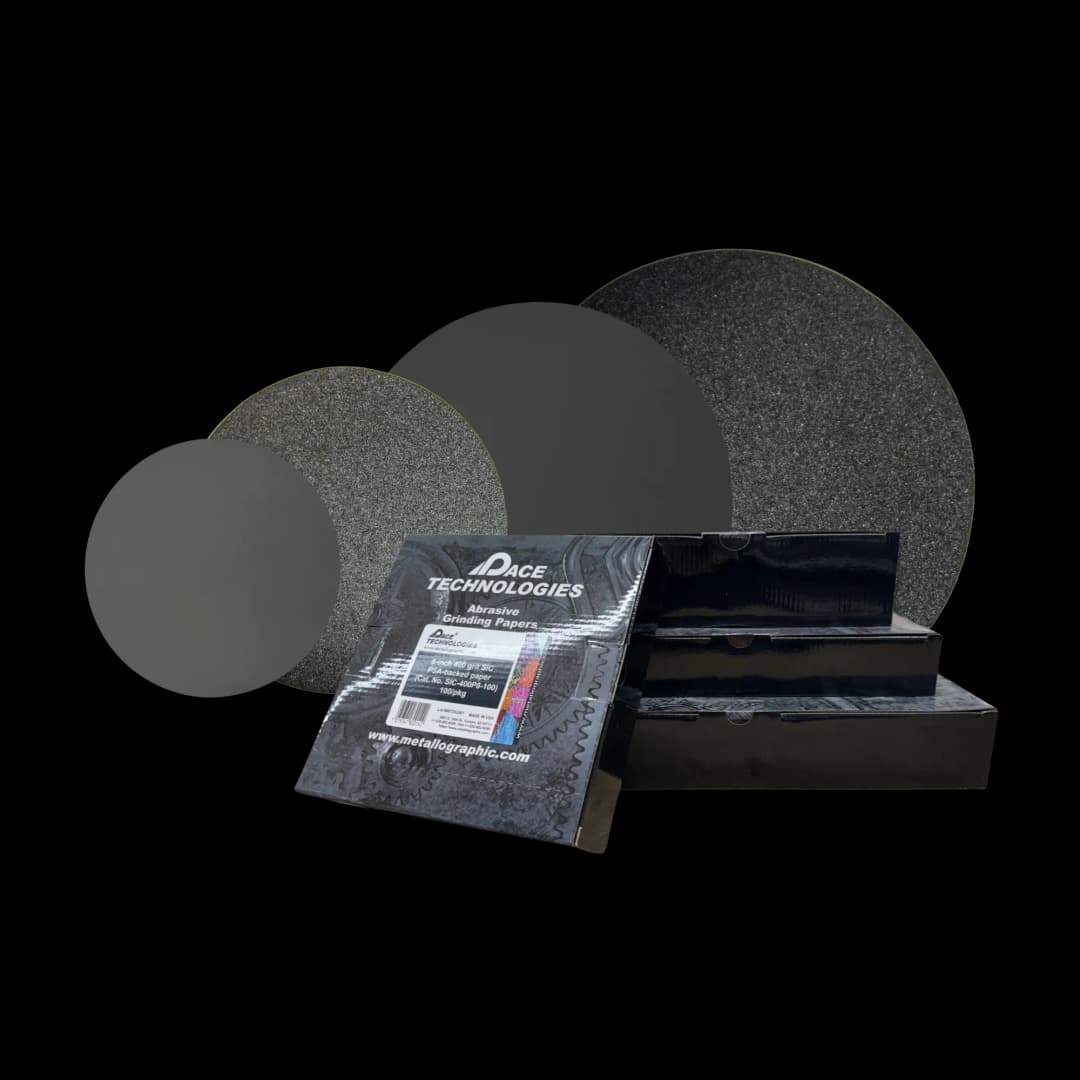
Silicon carbide (SiC) grinding papers in various grit sizes (120, 240, 400, 600, 800, 1200) for progressive grinding. Extended sequences and longer times are required for very hard tool steels.
Grinding Sequence — Diamond Ladder (canonical for high-carbide tool steels)
For high-speed steels (M2,M42),D2, T-grades, and any hardened grade where carbide volume fraction is appreciable, use diamond-impregnated grinding discs or diamond films:
- 75 µm diamond disc / film: plane grinding, ~1 min, 30 N
- 30 µm diamond film: ~2 min
- 15 µm diamond film: ~2 min
- 9 µm diamond film: ~2 min — the surface entering rough polish
For nitrided cases: skip the 75 µm step and plane-grind at 30 µm diamond film with light force, then 15 and 9 µm. The compound layer is brittle, and chipping and cracking of the case are introduced almost entirely at the first grinding step — light force here is what preserves the case-core interface.
Grinding Sequence — SiC Ladder (acceptable for lower-carbide hardened grades)
Use this for A2, O1, S7, H11/H13, and through-hardened 4140/4340/52100 — grades where carbide volume fraction is modest enough that SiC can cut the matrix without plowing carbides. Avoid this ladder for M-series, D2, and T-grades.
- 120 grit: Remove sectioning damage (60-120 seconds per step, moderate pressure)
- 240 grit: Remove previous scratches (60-120 seconds, moderate pressure)
- 320 grit: Further refinement (60-120 seconds, moderate pressure)
- 400 grit: Additional refinement (60-120 seconds, moderate pressure)
- 600 grit: Final grinding step (60-120 seconds, moderate pressure)
- 800 grit (optional): For high-quality work (60-120 seconds, moderate pressure)
- 1200 grit (optional): For very high-quality work (60-120 seconds, moderate pressure)
Critical Guidelines:
- Use extended times (60-120 seconds per grit) - these materials are very hard
- Use consistent, moderate pressure - avoid excessive pressure that could pull out carbides
- Rotate the sample 90° between each grit to ensure complete removal of previous scratches
- Use water as a lubricant and maintain consistent pressure
- Monitor the surface - if carbides start to pull out, reduce pressure slightly
- For case-hardened steels, be especially careful near the case-core interface
Note: The optional 800 and 1200 grit steps are recommended for high-quality work, especially for carbide-rich materials like high-speed steels (M2, M42) and D2 tool steel.
Example Products: Silicon Carbide Grinding Papersappropriate SiC papers in all grit sizes for consistent grinding
For purchasing options and product specifications, see commercial supplier website.
Polishing
Polishing removes grinding scratches and prepares a mirror-like surface. For tool steels and hardened steels, use extended polishing sequences with longer times per step due to the very high hardness. Carbide preservation is critical - use appropriate cloths and techniques to avoid pullout.
Key Principle: Carbides are hard, brittle phases that can be pulled out during polishing, leaving voids in the microstructure. Use appropriate cloth hardness and extended times to preserve carbides while achieving a good surface finish.
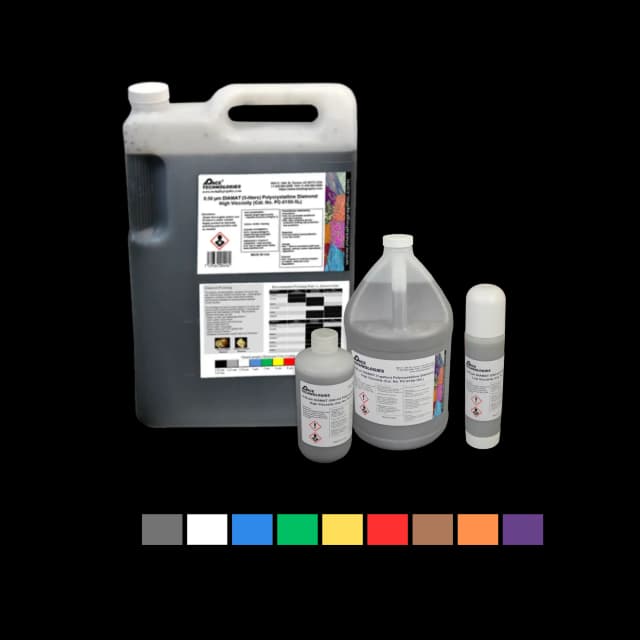
Polycrystalline diamond compound for polishing tool steels. Extended times are required due to high hardness.

Various polishing pads and cloths. Use appropriate cloth hardness to preserve carbides while achieving good surface finish.
Diamond Polishing
Use an extended diamond polishing sequence with longer times:
- 9 μm diamond (only if coming off the SiC ladder): ~4 minutes on a hard woven pad, moderate pressure — skip if grinding ended on the 9 µm diamond film
- 6 μm diamond: ~4 minutes on a hard pad, moderate pressure
- 3 μm diamond: ~4 minutes on a hard pad, moderate pressure — keep this step on a hard surface; a napped cloth here creates relief around carbides
- 1 μm diamond: ~3 minutes on a medium napped cloth, lighter pressure
Final Polishing
- 0.05 μm colloidal silica: ~2 minutes on a soft napped cloth, light pressure
- Flush with water for the final 30-60 seconds while still polishing — this removes silica residue that otherwise dries into stains — then rinse and dry with compressed air
Critical Guidelines:
- Use extended times (3-4 minutes per diamond step) - these materials are very hard
- Use appropriate cloth hardness - hard pads through 3 µm, napped cloths only for the final steps
- Use moderate pressure for diamond steps, lighter for final polishing
- Monitor the surface - carbides should remain intact, not pulled out
- Avoid over-polishing - extended times can cause relief around carbides
- For case-hardened steels, be especially careful near the case-core interface
For High-Speed Steels (M2, M42): These contain complex carbides (M₆C, MC, M₂C) that are particularly prone to pullout. Keep the intermediate diamond steps on hard pads with lighter pressure — a soft napped cloth digs around the carbides and levers them out. Reserve napped cloths for the brief 1 µm and final steps.
For Case-Hardened Steels: Use light force — a nitrided compound layer is hard but brittle, and chips or cracks under heavy load. Avoid prolonged polishing on soft cloths: it rounds the edge, and since case evaluation is done at high magnification, even slight rounding throws off case-depth measurement. Preserve the case-core interface.
Etching
Etching reveals the microstructure by selectively attacking grain boundaries and phases. For tool steels and hardened steels, the choice of etchant depends on the material type, heat treatment, and what features you want to reveal. Nital and Vilella's Reagent are the most common etchants.
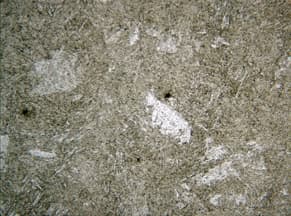
High-alloy tool steel after proper etching. The acicular matrix structure and carbides are revealed by appropriate etching.
Common Etchants for Tool Steels and Hardened Steels
Picric acid safety (applies to Picral and Vilella's both): Picric acid must be stored wetted at all times — water- or ethanol-saturated — because dry picric acid is friction- and shock-sensitive (effectively a primary explosive). Keep stock bottles topped up; never let them dry out. Mixed reagents (Picral, Vilella's) are stable in solution; the hazard is in the dry crystalline form.
- 2% Nital: General purpose for most tool steels and hardened steels. Reveals martensite structure and grain boundaries (2 mL HNO₃ in 98 mL ethanol). Swab 5-30 s.
- 3-5% Nital: For very hard materials, higher concentrations may be needed (3-5 mL HNO₃ in 95-97 mL ethanol). Mix fresh as needed — do not store ethanolic nital above 3% HNO₃.
- 4% Picral: The handbook etch for cementite and carbide imaging — matrix transparent, carbides dark. Strong choice for through-hardened bearing/spring steels and pearlitic structures (4 g picric acid in 100 mL ethanol). Swab 10-60 s.
- Vilella's Reagent: Martensite + carbide structure for tool steels and martensitic stainless. More aggressive than Picral. Particularly useful for high-speed steels with complex carbides (1 g picric acid + 5 mL HCl + 95 mL ethanol). Swab 5-60 s.
- Murakami's Reagent: Selective carbide attack — the standard for distinguishing carbide types in high-alloy tool steels and high-speed steels (10 g K₃[Fe(CN)₆] + 10 g NaOH + 100 mL H₂O). Use freshly mixed; activity decays. Swab 5-30 s. Never acidify — acidified ferricyanide solutions release hydrogen cyanide gas.
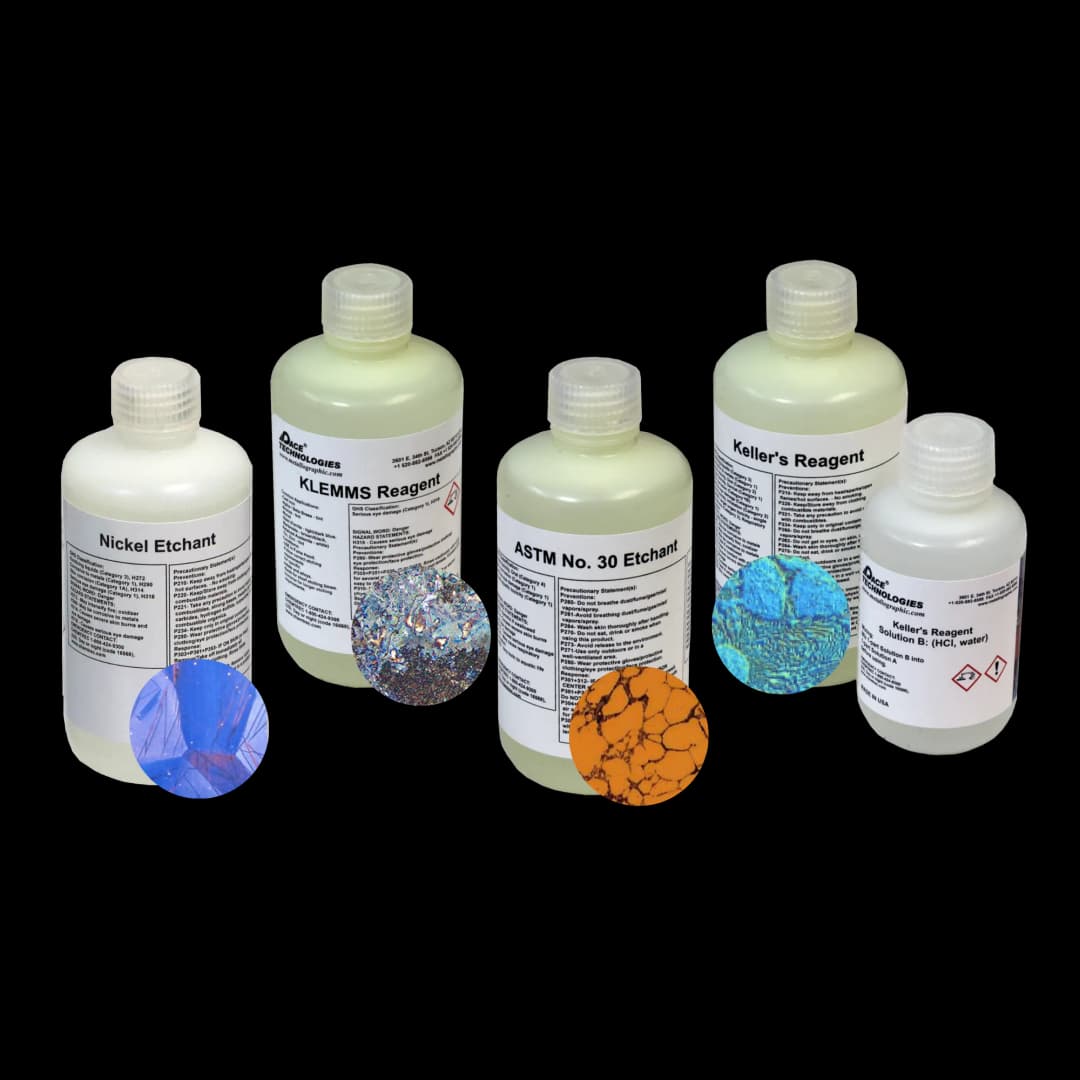
Etching solutions and reagents for tool steels and hardened steels. Common etchants include Nital, Vilella's Reagent, and Murakami's Reagent.
Etching Procedure
- Ensure sample is clean and dry after polishing
- Apply etchant with cotton swab or immerse sample
- Etch for 10-30 seconds (time varies by material type and hardness)
- Immediately rinse with water, then alcohol
- Dry with compressed air
Important Notes:
- Start with shorter etching times (10-15 seconds) and increase if needed
- For very hard materials, longer etching times (20-30 seconds) may be needed
- Vilella's Reagent is particularly useful for tool steels and high-speed steels with complex carbides
- Murakami's Reagent is excellent for revealing carbides in high-speed steels (M2, M42)
- For case-hardened steels, etching reveals the case microstructure and case depth
- Over-etching can obscure fine details - start with shorter times
For High-Speed Steels (M2, M42): These contain complex carbides that may require specialized etchants like Murakami's Reagent to reveal properly. Vilella's Reagent is also effective.
For Case-Hardened Steels: Etching reveals the case microstructure and allows measurement of case depth. In carburized cases etched with 2% Nital, martensite plates etch dark and any retained austenite stays white between them. For nitrided steels, 2% Nital leaves the compound layer white (the "white layer") and darkens the diffusion zone in alloy steels; Beraha's tint etch gives color contrast between the compound-layer phases (gamma-prime Fe₄N vs. epsilon Fe₂₋₃N).
Example Products: EtchantsPre-mixed and custom etching solutions for tool steels, including Nital, Vilella's Reagent, and Murakami's Reagent
For purchasing options and product specifications, see commercial supplier website.
Troubleshooting
Common Issues and Solutions
- Carbide pullout: Too much pressure during grinding or polishing, or too soft a cloth. Reduce pressure and keep the intermediate diamond steps on hard pads — soft napped cloths dig around carbides and lever them out. Monitor the surface carefully; carbides are hard and brittle and can be pulled out easily.
- Scratches remaining: Insufficient grinding/polishing time. These materials are very hard and require extended times (60-120 seconds per grit, 3-4 minutes per polishing step). Ensure complete scratch removal at each step.
- Relief around carbides: Over-polishing or too soft a cloth. Reduce polishing time or use slightly harder cloth, but still maintain moderate pressure to avoid carbide pullout.
- Contamination: Clean between steps, use fresh abrasives, and ensure proper sample cleaning.
- Poor edge retention: Switch to a glass-filled epoxy mount — plain phenolic wears faster than hardened steel and rounds the sample-mount boundary. For case-hardened steels, edge retention is critical for case depth measurement.
- Over-etching: Reduce etching time or use lower etchant concentration. Start with shorter times (10-15 seconds).
- Under-etching: Increase etching time or use higher etchant concentration. These materials are very hard and may require longer etching times (20-30 seconds).
- Phase transformation during cutting: Increase coolant flood, reduce feed rate, and verify the blade bond suits the hardness — a bond that is too hard for the material glazes and burns instead of cutting. These materials are sensitive to heat.
- Case-core interface not visible: For case-hardened steels, ensure proper mounting with edge exposed, use appropriate etching, and preserve edge retention throughout preparation.
Remember: Tool steels and hardened steels are very hard and require extended preparation times. The most common mistakes are insufficient time per step and excessive pressure that causes carbide pullout. Always err on the side of longer times and careful monitoring.
Explore More Procedures
Browse our comprehensive procedure guides for material-specific preparation methods and get personalized recommendations.